
Last updated November 2, 2026
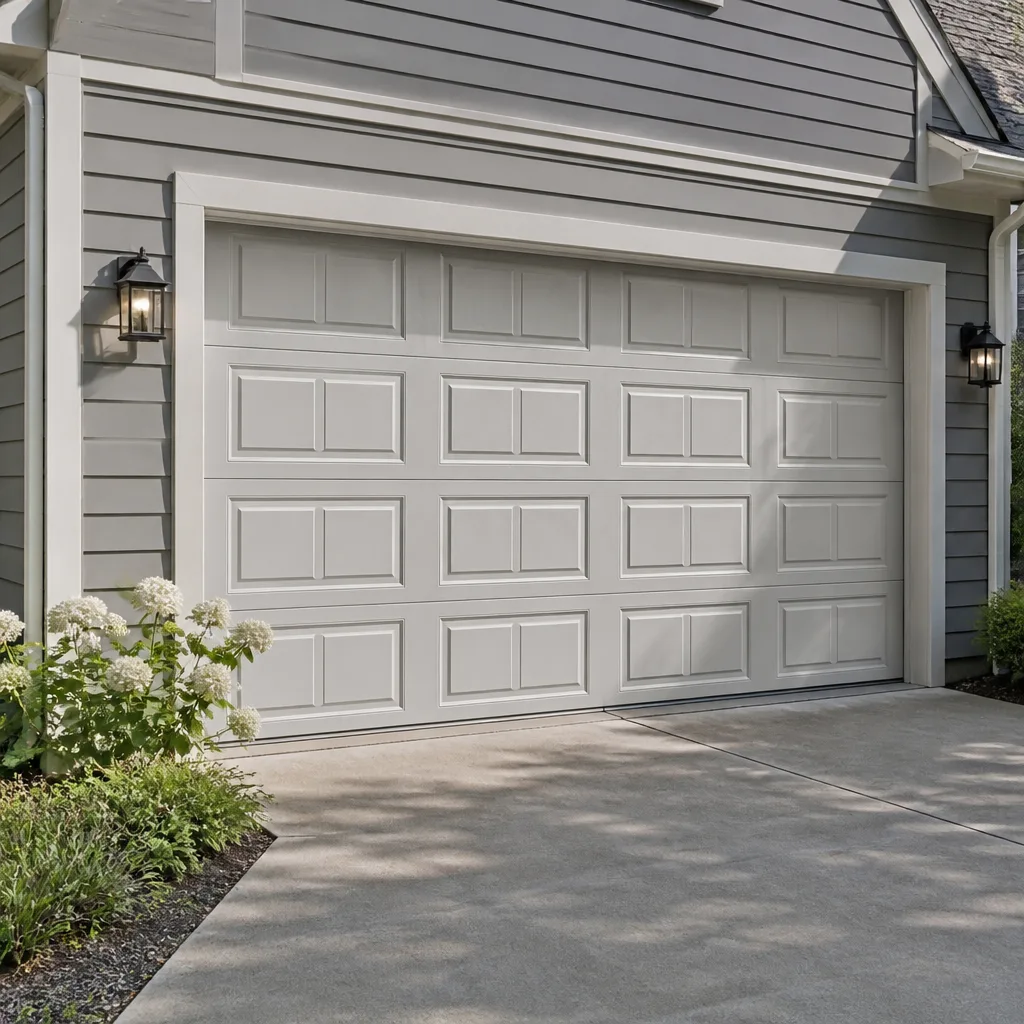 Raised-panel steel
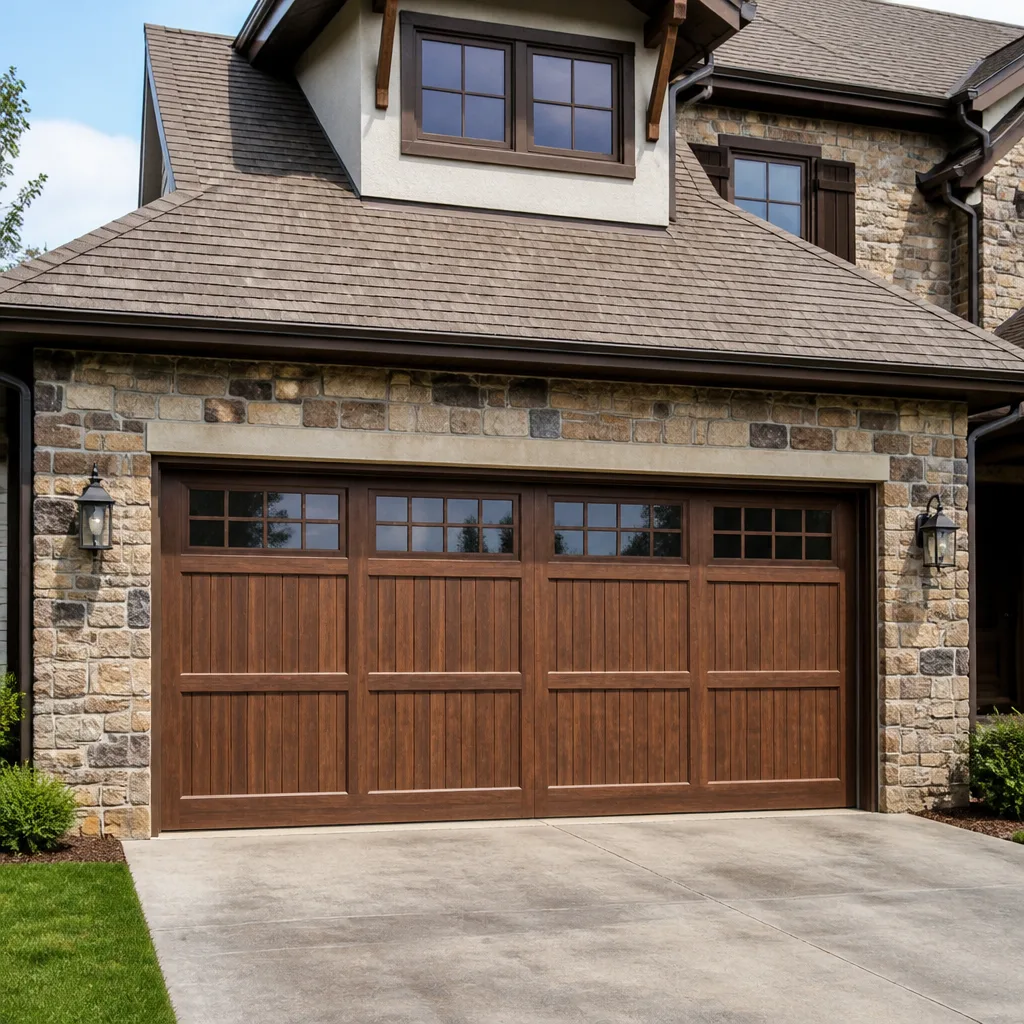 Carriage house
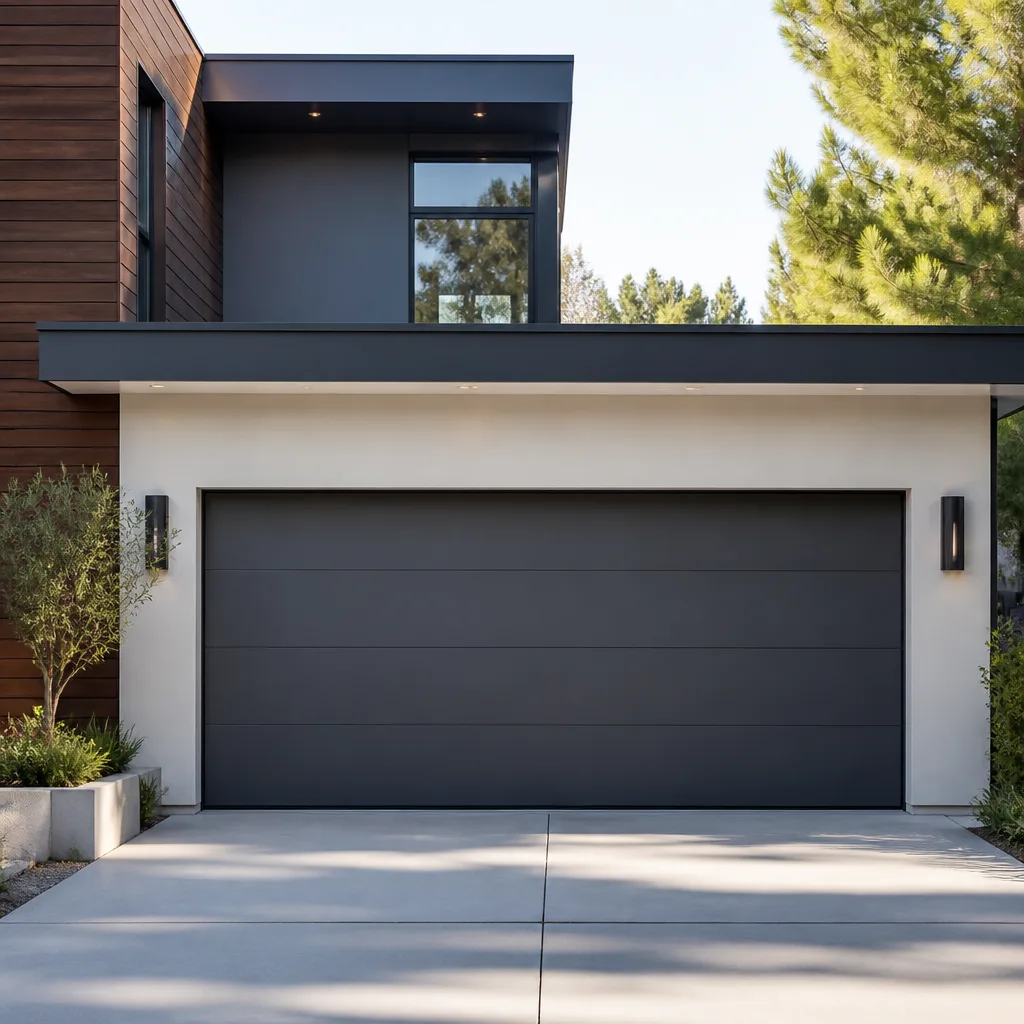 Modern flush
 Full-view glass
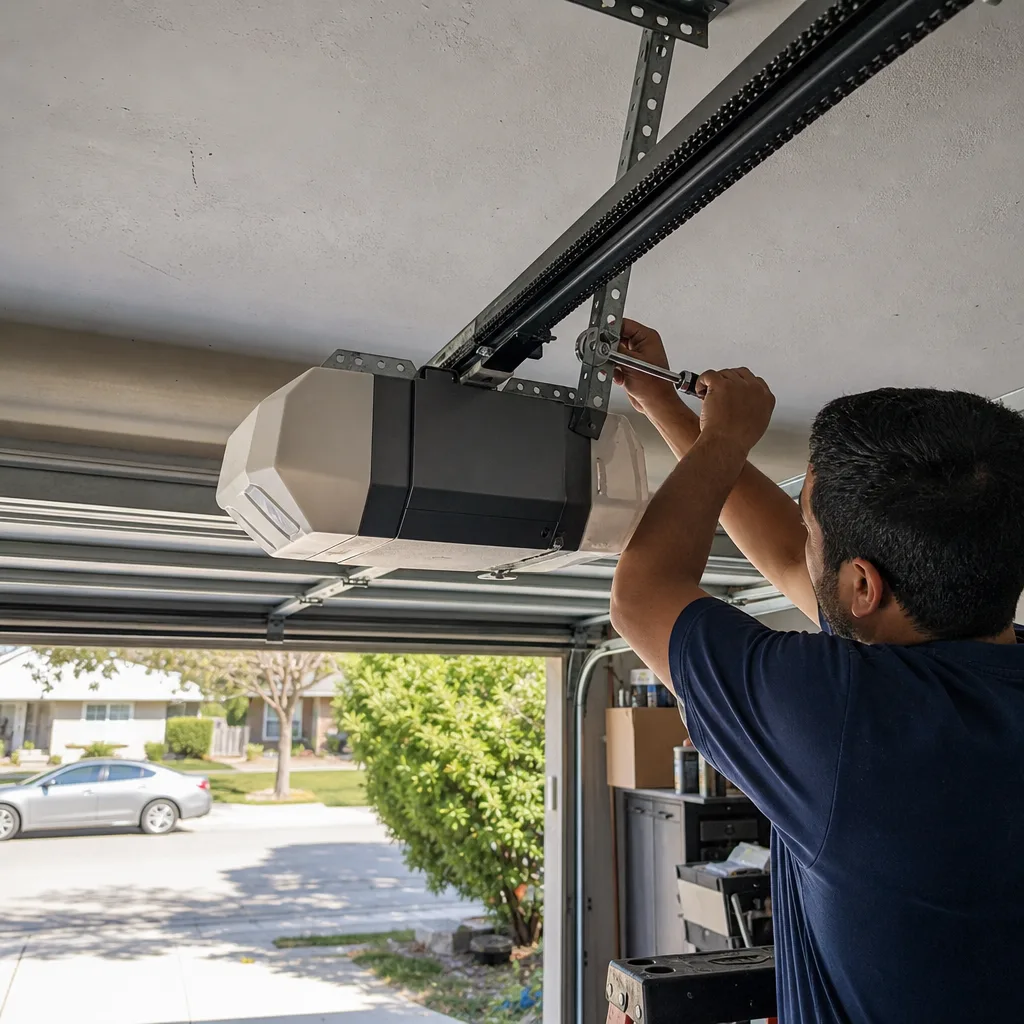
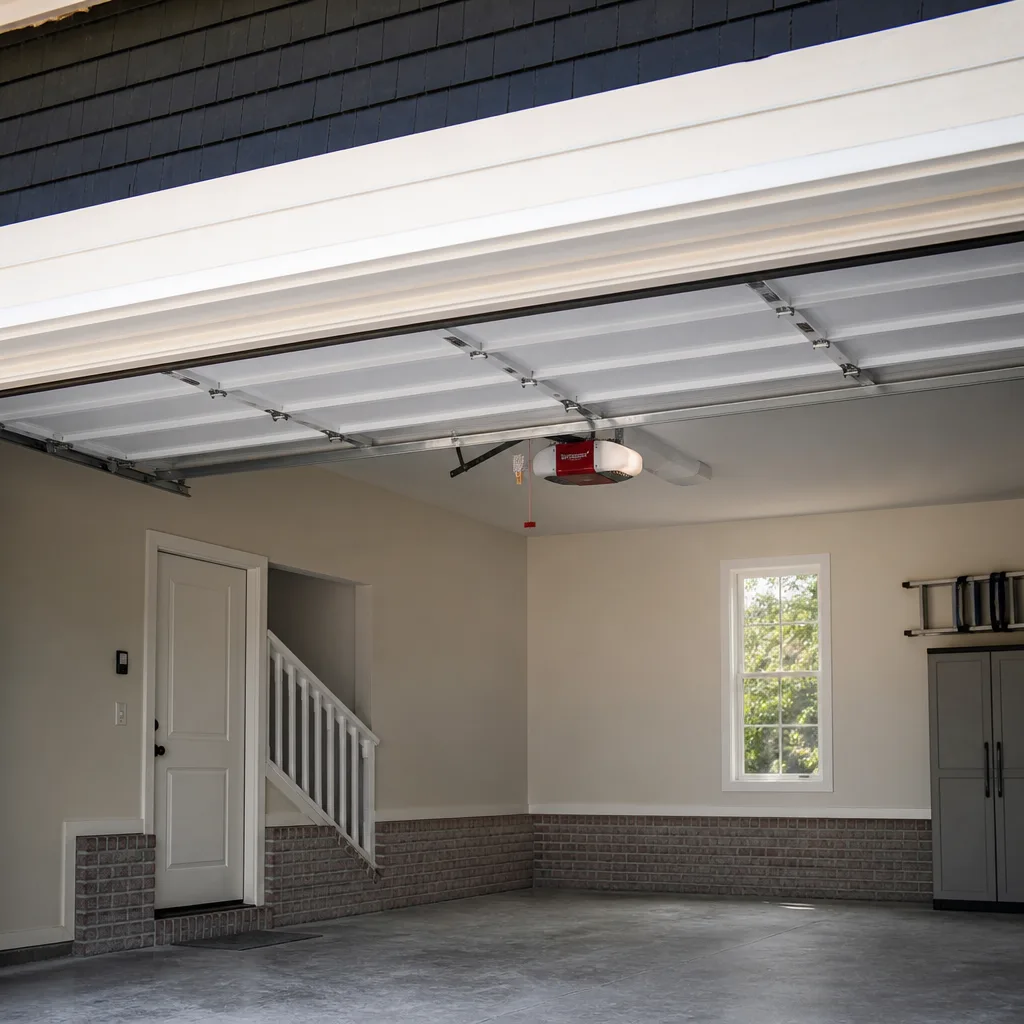 LiftMaster openers
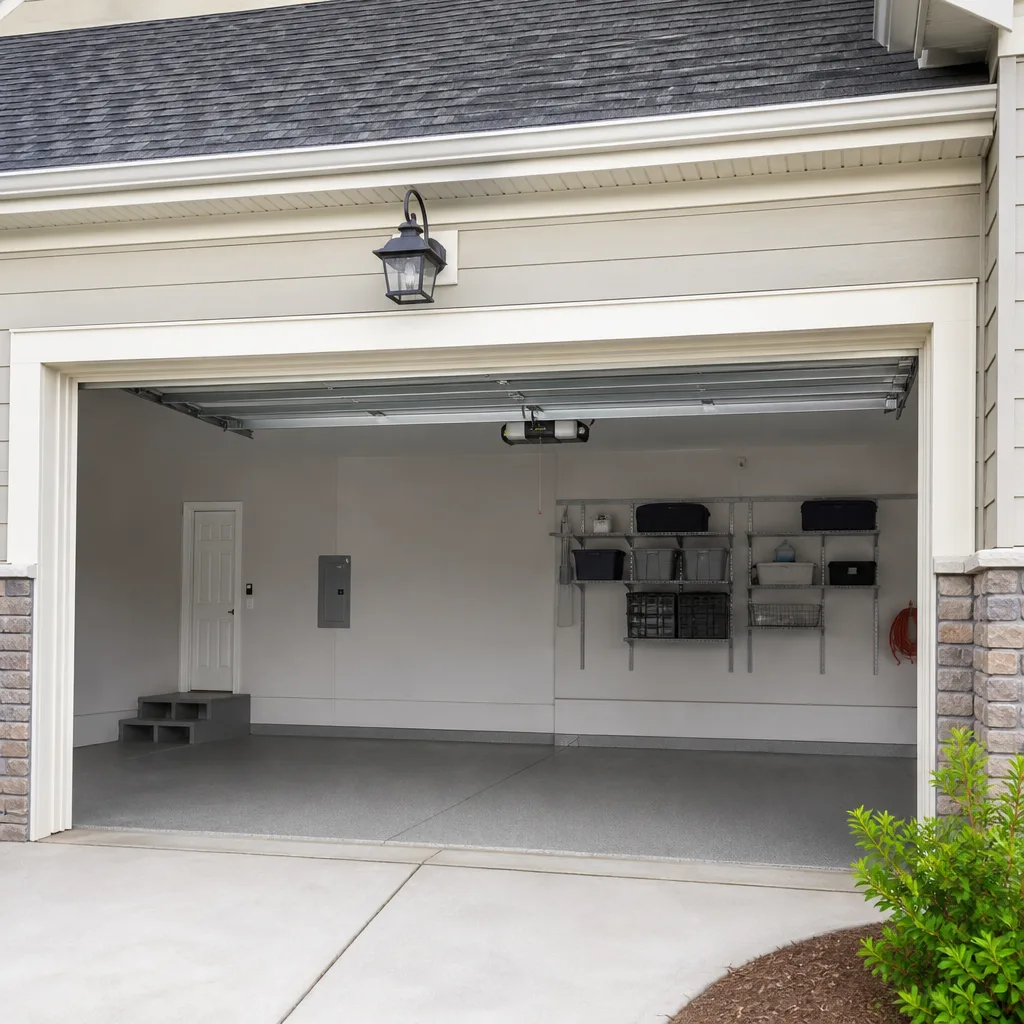 Chamberlain openers
Full 25-point door and opener safety check with every visit - springs, cables, rollers, tracks, and your LiftMaster or Chamberlain opener included
You get a price before we start. It does not change when the truck arrives.
Get your free estimateGarage Door Repair Maintenance Checklist for Gilroy Homeowners
Ninety percent of emergency garage door calls are failures that showed visible warning signs 30 to 60 days earlier. The homeowner just didn’t know what they were looking at. In Gilroy, where garlic season brings temperature swings and the coastal fog creeps down 101, your garage door takes more abuse than you probably realize. For a deeper look at what to watch for, see our Garage Door Warning Signs: A Gilroy Homeowner’s Reference Guide. This guide gives you a technician-grade inspection sequence you can run on a Saturday morning. You’ll learn exactly what to look at, what passes, what fails, and what each finding actually means. No vague advice like “check your springs.” Instead, you’ll get the same pass/fail criteria we use when we walk into a garage in Gilroy, Morgan Hill, or San Martin.
Quick Answer
A proper garage door maintenance checklist for Gilroy homeowners covers seven areas: spring tension, cable condition, roller and hinge wear, track alignment, opener force settings, weatherstripping, and hardware tightness. You should inspect each item every six months and after any major temperature swing. Most findings will be minor, but two items, spring tension and cable fraying, require immediate professional attention if they fail because both carry serious injury risk under load. If you need help, explore our Garage Door Repair services.
Styles & brands we work with
- Raised-panel steel
- Carriage house
- Modern flush
- Full-view glass
- LiftMaster openers
- Chamberlain openers
Table of Contents
- The Spring Tension Check: How to Measure Without Specialized Tools
- Cable Fraying Progression: The Four Visual Stages
- The Lubrication Map: Which Parts Get Which Lubricant
- Opener Force Sensitivity Test: The Cardboard Box Method
- Humidity-Specific Checklist for Homes Within 15 Miles of the Coast
- Track Alignment and Hardware Tightness
- The Six-Month Inspection Sequence
- Common Mistakes to Avoid
The Spring Tension Check: How to Measure Without Specialized Tools
Springs are the most misunderstood part of any garage door system. They do all the heavy lifting. The opener motor is just there to guide the door along the track. When springs lose tension, the opener starts working against a door that suddenly weighs 50 to 80 pounds more than it expects. That is when motors burn out, gears strip, and cables snap.
Here’s what we’re measuring. A properly tensioned torsion spring holds tension even with the door fully open. You can check this by disconnecting the opener using the red emergency release cord, then manually lifting the door to waist height. A healthy door will stay roughly where you put it. If it drifts down, the spring has lost tension. If it shoots up on its own, the spring is over-tensioned. Either finding is a fail.
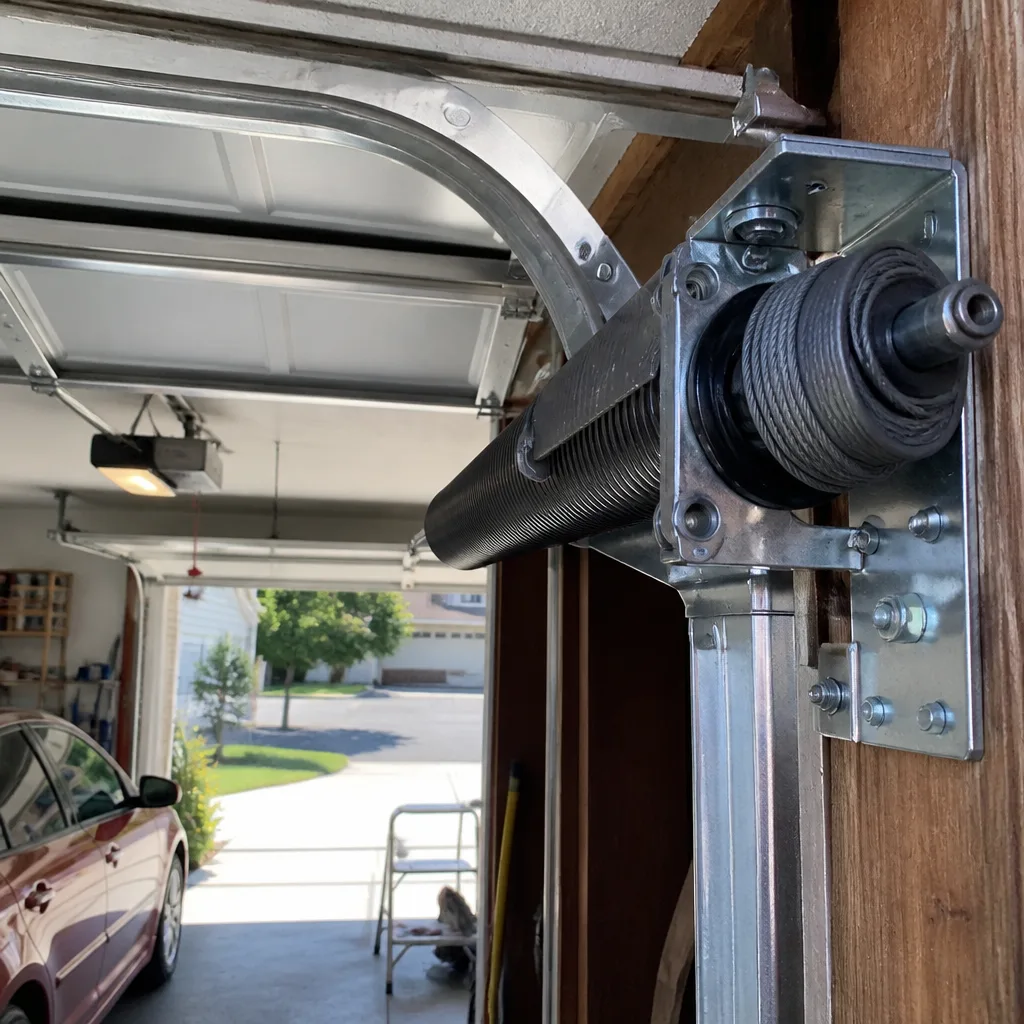
Visually, here’s what to look for on torsion springs mounted above the door:
- Gap check: Look at the coil spacing. On a healthy spring, the coils are evenly spaced. If you see a visible gap between two adjacent coils, that is the first stage of spring fatigue. One gap is a warning. Two or more gaps means the spring is failing.
- Rust check: Light surface rust on the spring itself is cosmetic. But rust that shows flaking or scaling means the spring metal has begun to lose its temper. In Gilroy’s fog-influenced humidity, this is common within 5 to 7 years.
- Squeak severity: Springs make noise. That is normal. A high-pitched shriek on every cycle is not. That sound indicates coil-on-coil friction from a spring that has already begun to settle.
Extension springs, the kind that run along the upper side tracks on older doors, use a different check. With the door closed, look at the safety cable running through the center of each spring. If the cable is slack, the spring has stretched. If the cable is missing, the door was never retrofitted with safety containment and any spring failure becomes a projectile hazard. That is a must-fix item on any Garage Door Repair in Freedom visit we perform on older homes.
Safety note: Never attempt to adjust, replace, or wind a torsion spring yourself. The stored energy in a wound spring is enough to cause severe injury or death. Our technicians perform spring inspections and replacements as a matter of routine, but even we treat every wound spring with respect. For additional guidance, see our Garage Door Repair Troubleshooting: Common Problems and How to Fix Them. If your spring fails any of the checks above, call a professional. This is not a DIY adjustment.
Cable Fraying Progression: The Four Visual Stages
Cables are the most predictable failure in a garage door system. They fail in four distinct stages, and each stage is visible if you know what to look at. Here’s the progression we see in Gilroy garages, particularly on doors that get opened four or more times per day during busy farming season.
- Stage 1: Clean cable, bright metal. This is a new or near-new cable. Individual strands are tightly wound and you cannot slide a fingernail between them. No action needed.
- Stage 2: Dull finish with light surface corrosion. The cable looks a bit gray rather than shiny. This is cosmetic in coastal-adjacent areas like Gilroy, where morning moisture settles on metal overnight. Wipe the cable with a dry rag. If the gray comes off and the metal underneath looks intact, pass. If the metal looks pitted after wiping, it’s actually Stage 3.
- Stage 3: One or more individual strands broken. This is the stage most homeowners miss. Look carefully at the cable where it wraps around the drum at the top of the track. Broken strands look like tiny porcupine quills poking out from the main cable body. One broken strand is not an emergency yet, but it is a countdown. Call for cable replacement within 30 days.
- Stage 4: Birdcaging or unwinding. The cable has begun to unravel. You’ll see a section where the wires bulge outward, away from the main cable, like a frayed shoelace. At this stage, the cable can snap at any time. The door can slam down. Do not operate the door manually or with the opener. Call a technician immediately.
We consistently see Stage 3 damage ignored on Wayne Dalton and Raynor systems because those brands use a lower-profile cable drum that hides fraying until the door is partially raised. Check the cables with the door at half height, not fully open or fully closed. That is when the most damaged section of cable is visible.
The Lubrication Map: Which Parts Get Which Lubricant
The single most common mistake we see on garage doors in Gilroy is people spraying WD-40 on rollers. This is wrong. WD-40 is a solvent and water displacer. It cleans off the old lubricant and leaves behind almost no protective film. It actively shortens roller life.
Here is the correct lubrication map for every garage door system, whether it’s a Craftsman opener on a 1990s door or a modern LiftMaster with a belt drive:
- Rollers with metal shafts: Use a silicone-based or white lithium grease spray. Apply one drop to the ball bearing area on each end of the roller shaft. Do not spray the wheel itself. A lubricated wheel surface attracts dirt and grinds it into the nylon.
- Nylon rollers with no exposed metal: These are the newer style. Apply lubricant sparingly to the shaft only. Most nylon roller failures are shaft failures from rust, not wheel failures.
- Hinges: Use white lithium grease spray. One quick shot on each hinge pivot point. You’ll see the hinge plates move relative to each other. That moving seam is where the grease goes.
- Torsion spring: Use a dedicated garage door spring spray. This is a heavy, clingy oil that penetrates between coils while the spring is under load. Spray the entire length of the spring, then cycle the door once to work the lubricant in.
- Track: Nothing. Do not lubricate tracks. Tracks are not designed to carry lubricant. Grease on tracks collects dust from Gilroy’s dry-season fields and creates a paste that increases roller friction. If a track looks dirty, clean it with a dry rag. That’s all.
- Opener rail or screw: For screw-drive openers, use a thin coat of the grease specified by the opener manufacturer. For belt or chain rail systems, inspect for debris but do not add grease unless the manufacturer calls for it.
A full lubrication pass takes about 15 minutes. Do it every spring and fall. In Gilroy’s climate, the fall lubrication matters more because it protects metal surfaces through the fog-heavy winter months, when morning condensation sits on hardware for hours.
Opener Force Sensitivity Test: The Cardboard Box Method
Modern garage door openers have a force sensitivity setting. When the door encounters resistance, the opener is supposed to reverse. But over time, openers get adjusted to push harder. Homeowners do this when a door starts binding and they want it to close all the way. The problem is that pushing harder masks a mechanical issue, usually a spring losing tension or a roller seizing. And an opener set too high becomes dangerous around children and pets.
Here’s how to test your opener’s force sensitivity without any tools:
- Place an empty cardboard box, roughly the size of a shoe box, flat on the garage floor directly under the path of the closing door.
- Close the door using the wall button or remote.
- Watch what happens when the door contacts the box.
- Pass: The door touches the box, reverses direction within one second, and returns to the full open position.
- Fail: The door crushes the box, chews it up, or continues closing while the opener motor strains. If the door crushes but the pressure is not reversed within a second, your force setting is too high.
A force sensitivity failure means one of two things. Either the opener was adjusted too aggressively at some point, or the door has developed mechanical drag that the opener is now fighting. The fix in the first case is a simple force adjustment. The fix in the second case is to find and clear the mechanical problem. On LiftMaster openers, the myQ app sometimes reports excessive force events in the history log. That is useful. But most brands, including Chamberlain and Genie, do not log this externally. The cardboard box is the universal test that works on every opener we service in Gilroy.
If your opener fails this test, it is compensating for something. That something is usually a spring. We see this pattern constantly in Freedom calls. The homeowner thinks the opener is broken. The opener is actually working its hardest against a door that has a failing spring, and the force setting was raised to compensate.
Humidity-Specific Checklist for Homes Within 15 Miles of the Coast
Gilroy sits far enough inland to avoid daily coastal fog, but close enough to the Monterey Bay influence that winter mornings bring moisture into garage spaces. Homes in the western foothills and along Highway 152 see more of this than homes on the east side. This moisture creates a specific set of maintenance concerns that drier inland climates don’t have.
Run through these four checks every winter, or any month with overnight temperatures below 50 degrees:
- Rust indicators on hardware: Look at the bolts securing the track brackets to the wall, the bottom corners of the door panels, and the spring anchor pad. Rust on any of these is a moisture indicator. It doesn’t mean replacement yet. It means you need to dry the garage more aggressively or install a small dehumidifier. Persistent rust on structural fasteners eventually weakens them.
- Wood door swelling gaps: If you have a wood door, run your hand along the seam between each panel row. In dry months, you’ll feel a small, even gap. In wet months, wood swells and the gap closes. If the gap closes completely and the door starts binding, the wood absorbed too much moisture. The fix is a better garage seal at the bottom of the door and possibly a repaint with sealing primer. A wood door that swells hard against its track in Gilroy’s winter will wear its rollers prematurely.
- Weatherstripping compression loss: The rubber astragal at the bottom of the door compresses over time. In humid conditions it also takes on a slight permanent set. Check it by closing the door and running a flashlight along the inside floor gap. If you see light under the seal in more than one spot, the astragal has compressed beyond its service life. Replacement is a 20-minute job.
- Opener moisture exposure: If the opener unit is mounted near a side door or a vent, check for condensation on the opener housing in the morning. Moisture on circuit boards shortens opener life. Most openers survive one or two seasons of this. A unit that has visible condensation regularly needs a vent or a repositioned mount.
These four items are the quiet killers. They don’t make noise. They simply shorten the working life of every component they touch. A Gilroy homeowner who runs this checklist twice per winter will catch most moisture problems a year before they become repair bills.
Track Alignment and Hardware Tightness
Garage door tracks are remarkably forgiving. A door can be slightly out of alignment and still open and close for years. But that misalignment adds load to every other component, including the opener and the springs. The longer it continues, the more expensive the eventual repair.
Here’s the three-point track check:
- Gap consistency: With the door closed, check the distance between the roller wheel and the track edge at the top, middle, and bottom of the door on both sides. All three gaps should be roughly equal, within about one-quarter inch of each other.
- Bolt tightness: Every bracket that holds the track to the wall or ceiling has a bolt. Try to wiggle each bracket by hand. It shouldn’t move. If it does, the bracket is loose and the track is working against its fasteners. Tightening these bolts is a homeowner-level job with a socket wrench.
- Bend or gouge check: Look down the full length of each vertical track section from floor level. A healthy track is straight. A dent or bend, even a small one, will cause the door to hitch at the same point on every cycle. You can feel this hitching when the door is in manual mode.
If tracks are significantly out of alignment, you need professional adjustment. Minor bolt tightening is the only track maintenance we recommend for homeowners. The rest involves releasing door weight from the track, which means relieving spring tension, which is a professional-only procedure.
Hardware tightness is the fastest win on this entire checklist. Loose bolts on a garage door system are like loose lug nuts on a car. They don’t just sit there. They allow movement, and movement creates wear. We’re happy to inspect track and hardware conditions as part of any Garage Door Installation in Freedom consultation, but the homeowner who checks bolts quarterly will catch most problems before they become structural.
The Six-Month Inspection Sequence
Here’s the complete sequence we recommend running twice per year. It takes 30 to 40 minutes the first time, and 20 minutes once you know what to look at. Run it in order. Each step builds on the last.
- Visual sweep from floor level: With the door closed, stand back and scan the full system: springs, cables, tracks, brackets, hinges, weatherstripping. Look for the obvious: rust, gaps, anything bent. Trust the first-glance impression. If something looks off, investigate it.
- Manual balance test: Pull the red release cord and lift the door to waist height. Does it stay? Drift down or rise up? This is the spring tension check from earlier.
- Cable inspection at half height: Raise the door manually to half height and inspect both cables where they wrap the drums. Look for broken strands, fraying, or birdcaging.
- Roller and hinge inspection: At half height, check each roller wheel for cracks in nylon or flat spots in steel. Check each hinge for side-to-side play. A hinge with play is a hinge that will snap within a season or two.
- Track gap check: Check gap consistency at top, middle, and bottom on both sides. Same as the track alignment section.
- Hardware wiggle test: Try to wiggle every visible bracket and bolt. Tighten any that move.
- Lubrication pass: Follow the lubrication map from earlier. Springs, roller shafts, hinges.
- Force sensitivity test: The cardboard box test. Run it every six months, regardless of whether the opener has been adjusted.
- Weatherstripping check: Look for light under the bottom seal, cracks in side seals, and compression set.
This sequence works for any door brand: Wayne Dalton, Raynor, Craftsman, or whatever came with the house. The components all follow the same physics. If you want a second set of eyes, Garage Door Service Gilroy home service coverage includes full-system inspections in Gilroy and surrounding areas.
Common Mistakes to Avoid
- Using WD-40 on rollers. WD-40 dissolves lubricant, exposes the metal shaft to Gilroy’s winter moisture, and accelerates roller wear by a factor of two or three. Use a lithium or silicone spray on shafts only.
- Greasing the track. The track is a guide surface. Grease on the track creates a dirt-grease paste that grinds roller wheels down. If a track is noisy, the problem is a worn roller, not a dry track.
- Raising opener force instead of fixing the real problem. When a door starts binding, the wrong fix is to make the opener push harder. That masks the underlying issue and creates a safety hazard. The right fix is to find and repair the drag.
- Ignoring one broken cable strand. A single broken strand is a warning sign, not a wait-and-see item. Cables fail progressively and predictably. One strand means more strands are compromised. Replace the cable at this stage, not at the emergency stage.
- Lubricating to fix a squeak. A persistent squeak that does not clear after a proper lubrication pass is mechanical wear, usually a roller bearing or a hinge pin. Lubrication buys time. A new roller or hinge fixes it.
- Attempting spring adjustment as a homeowner project. This is the one mistake that can result in hospitalization or death. Torsion springs store enough energy to break bones. There is no safe homeowner workaround. Call a professional.
When to Call a Professional
Most of the checks in this guide are homeowner-friendly. But three situations require a trained technician, and no amount of YouTube confidence will change that.
Call if your spring fails the balance test or shows visible coil gaps. Call if you see any cable damage beyond Stage 2 surface dullness. Call if your opener fails the force sensitivity test and you’ve already ruled out simple lubrication issues.
Working on garage door springs and cables under tension is genuinely dangerous. These are the two components that store the mechanical energy that lifts your door. Released incorrectly, that energy becomes a hazard. We would rather take the call before you touch these parts than after. Garage Door Service Gilroy offers free estimates in Gilroy – call (833) 593-6706.
See the difference
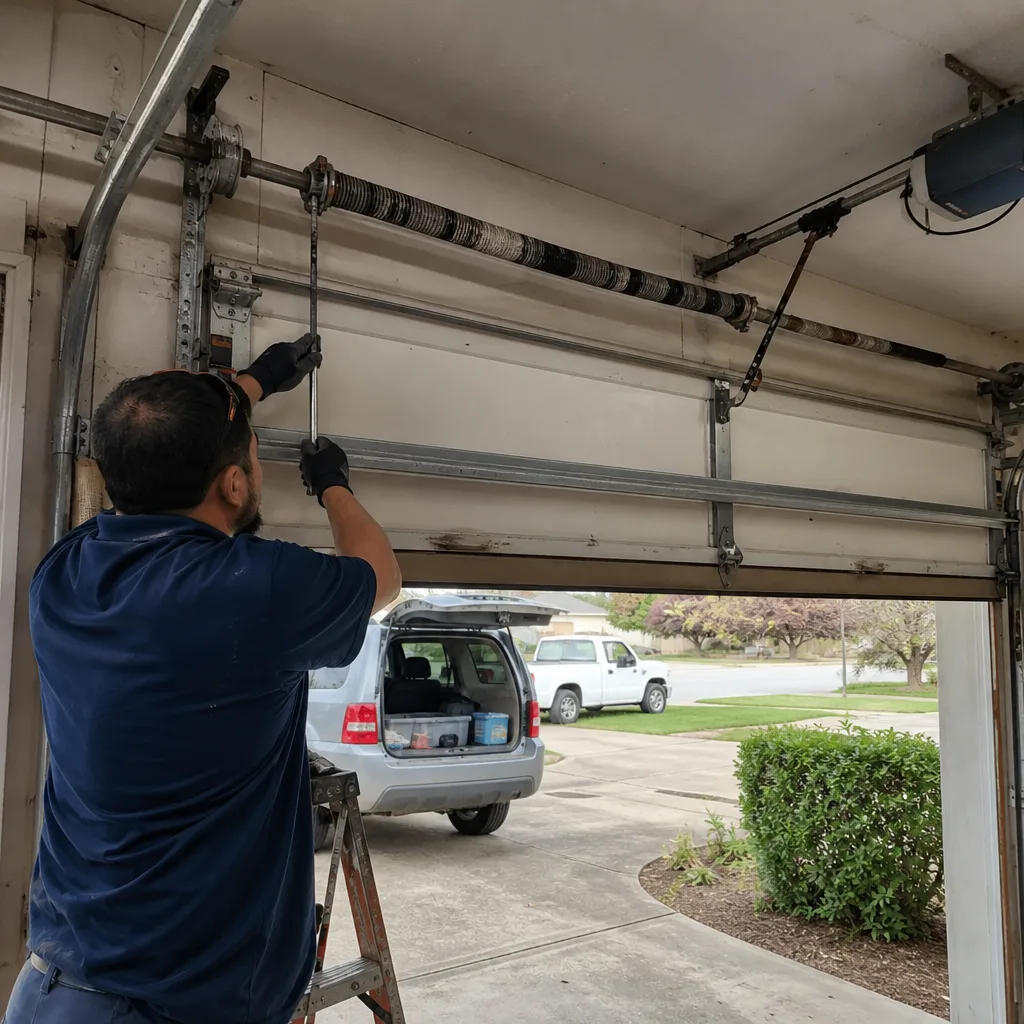 Before
 After
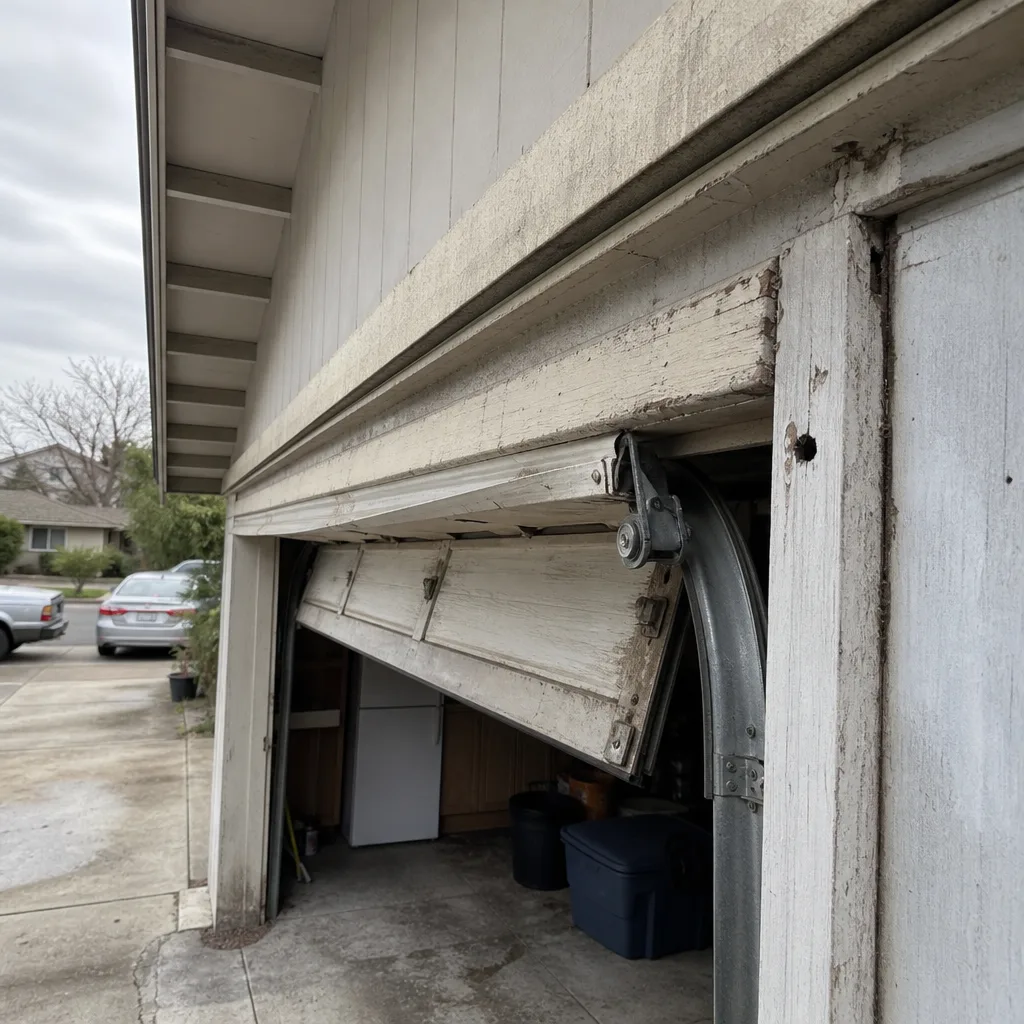 Before
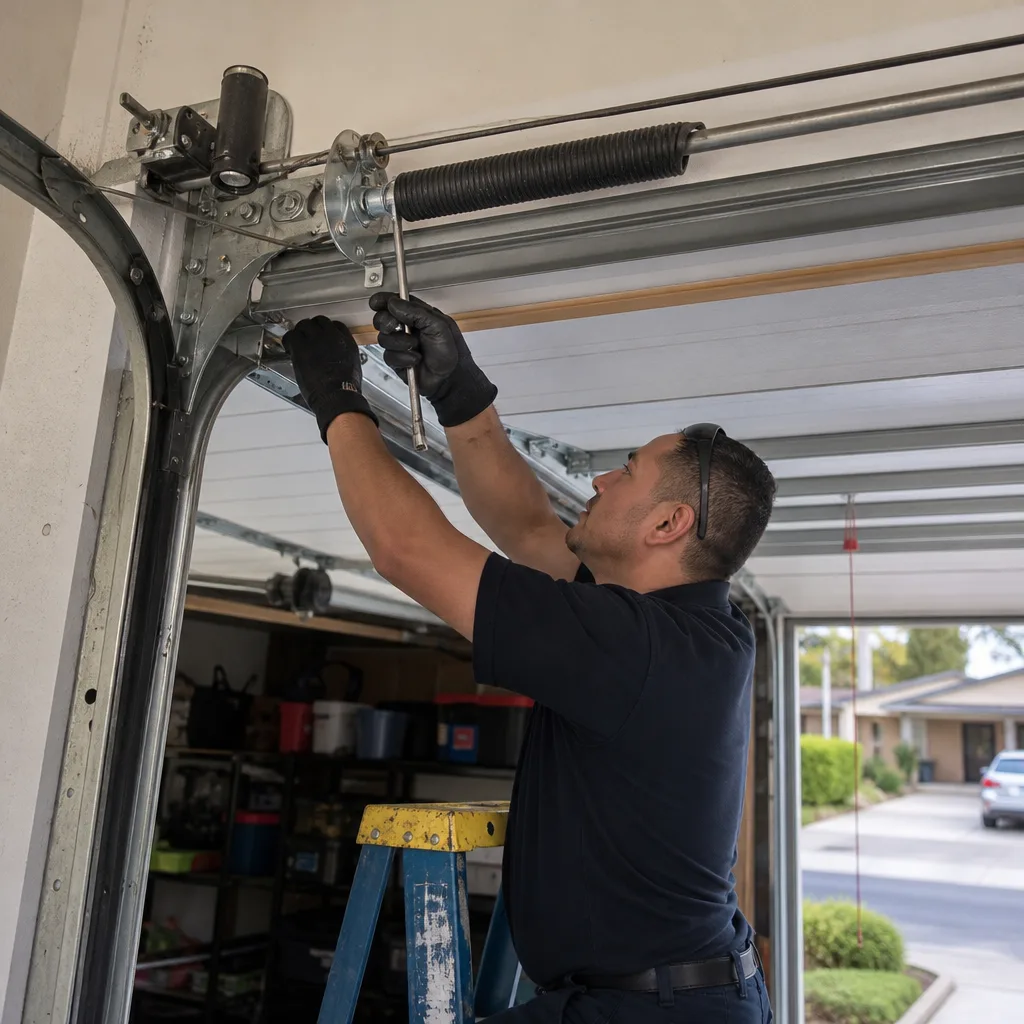 After
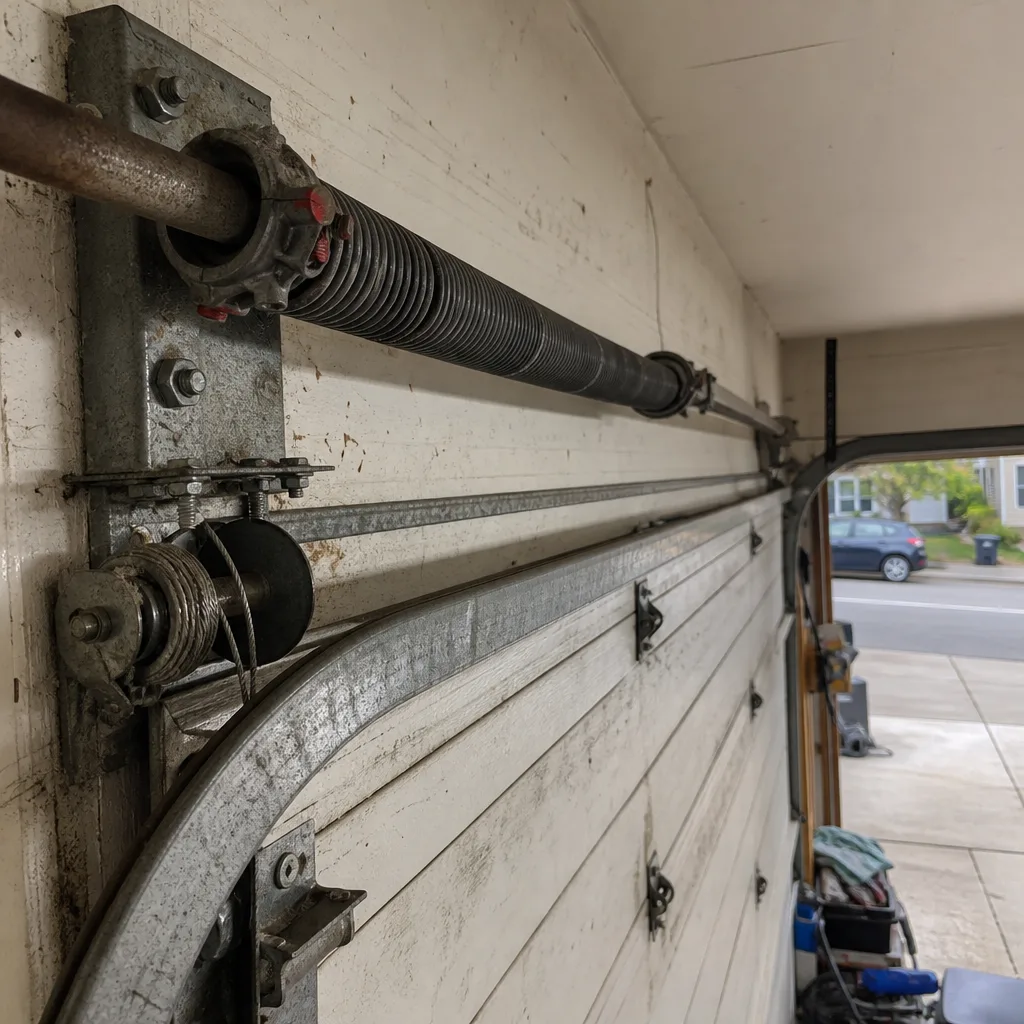 Before
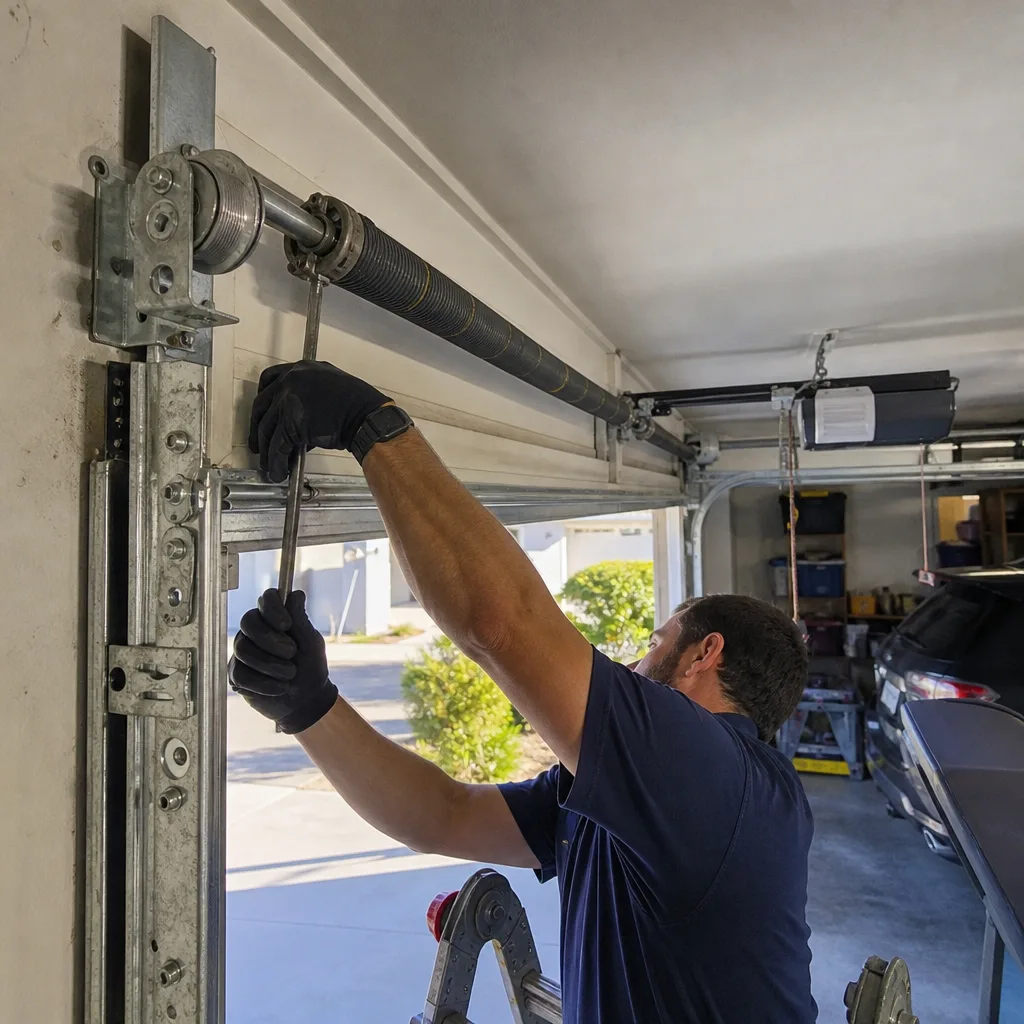 After
Frequently Asked Questions
Run the full six-month inspection sequence every spring and fall, with a quick monthly visual check in between. Gilroy’s temperature swings and seasonal fog increase wear, so twice per year is the baseline for this climate. If the door opens more than four times per day, check cables and springs every three months.
A professional maintenance visit typically runs between $90 and $180 for inspection and lubrication, with any parts replacement quoted separately before work begins. Homeowner DIY maintenance costs about $20 to $40 per year for quality lubricant, which is the right spend for the six-month passes. Call us for exact pricing – the quote is free and you’ll know the full cost before we touch anything.
Sometimes. A proper lubrication pass on the spring, roller shafts, and hinges will clear roughly half of all squeaks. If the noise comes back within a week or doesn’t clear at all, the roller bearing or hinge pin itself is worn and needs replacement. That is a parts issue, not a lubrication issue.
Yes, and you should. The cardboard box force sensitivity test described above takes under two minutes and requires nothing but an empty box. Also test the photo-eye sensors by closing the door and waving a broom handle through the beam at floor level. The door should reverse immediately. If it does not, the sensors need realignment or replacement.
The most common call we get is a broken spring, followed closely by worn rollers and cable damage. In the summer, opener motor failures spike because the heat in an uninsulated Gilroy garage, regularly over 100 degrees in July and August, strains electronics. Spring failures are more common in winter, when cold mornings make the metal more brittle.
Yes. We’re trained on eight major brands, including LiftMaster, Chamberlain, Genie, Clopay, Amarr, Wayne Dalton, Craftsman, and Raynor. That means the technician who shows up already knows your exact door and opener system, not a generic substitute. We work on the brand you already have.
The Bottom Line
A 30-minute inspection twice a year catches most garage door failures before they become emergencies. The springs, cables, rollers, tracks, and opener are all designed to give visual warning before they fail, and this checklist gives you the pass/fail criteria to read those warnings. The most important outcome is catching a cable at Stage 3 or a spring at first coil gap, when the repair is affordable and predictable rather than urgent. For Gilroy homeowners who want a professional assessment, our team handles inspections, repairs, opener work, and installations across all eight brands we service. You can also find more guides & resources on our blog. Call (833) 593-6706 for a free estimate, quoted and agreed before any work begins.
Written by the team at Garage Door Service Gilroy, serving Gilroy since 2018.