
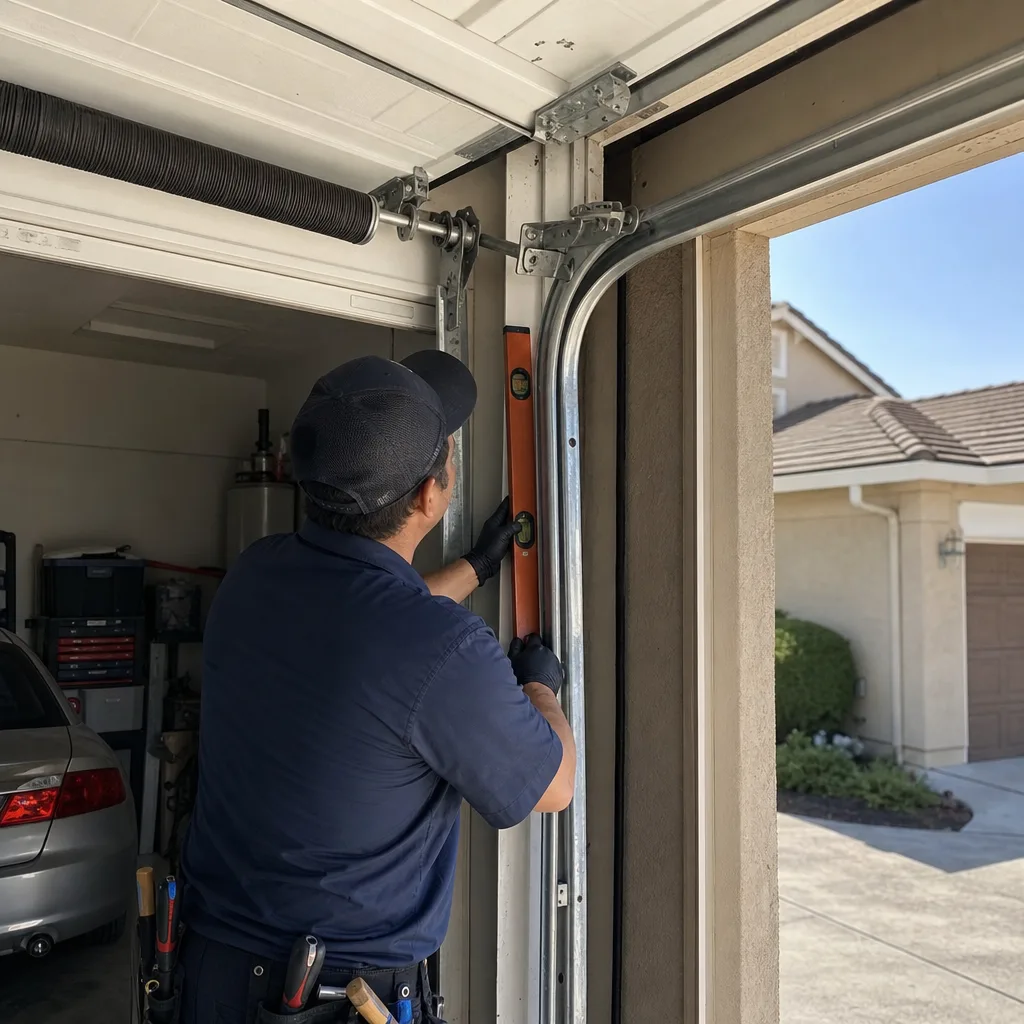
Last updated November 2, 2026
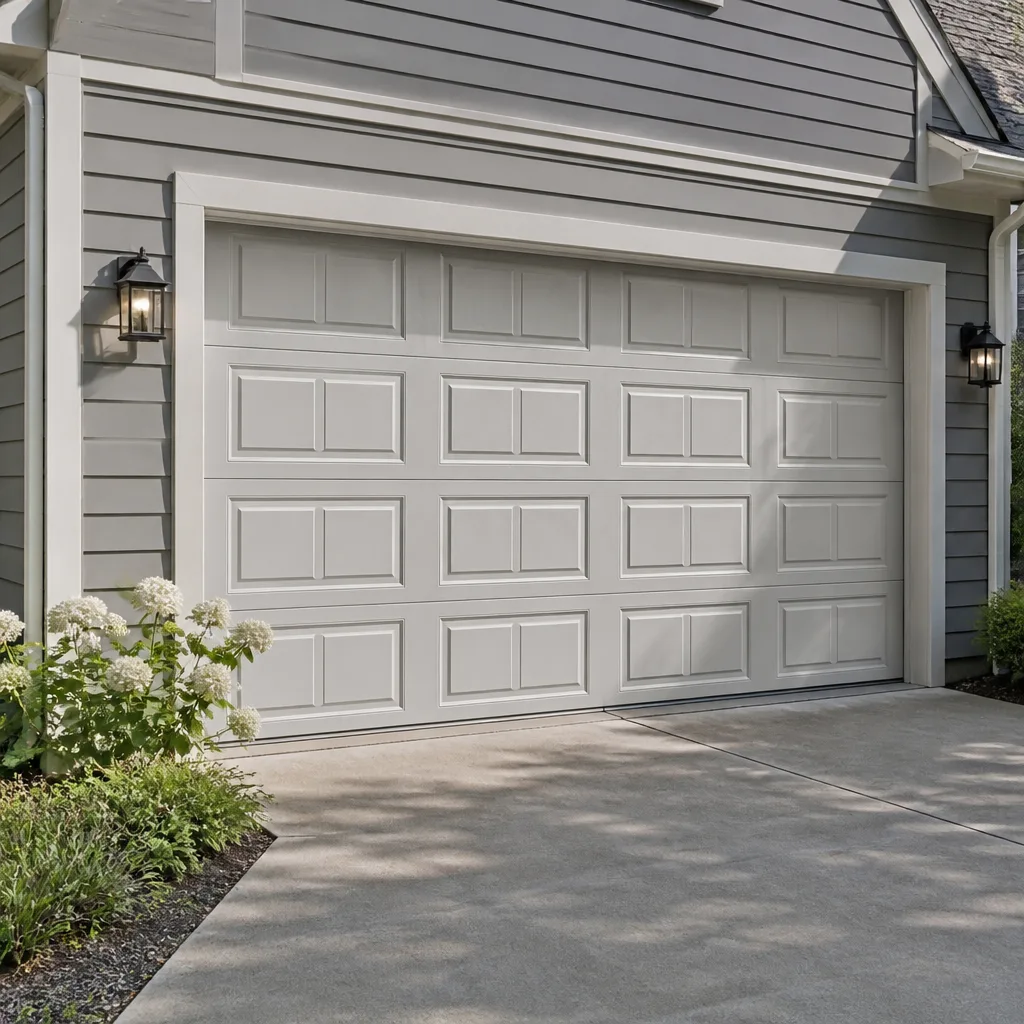 Raised-panel steel
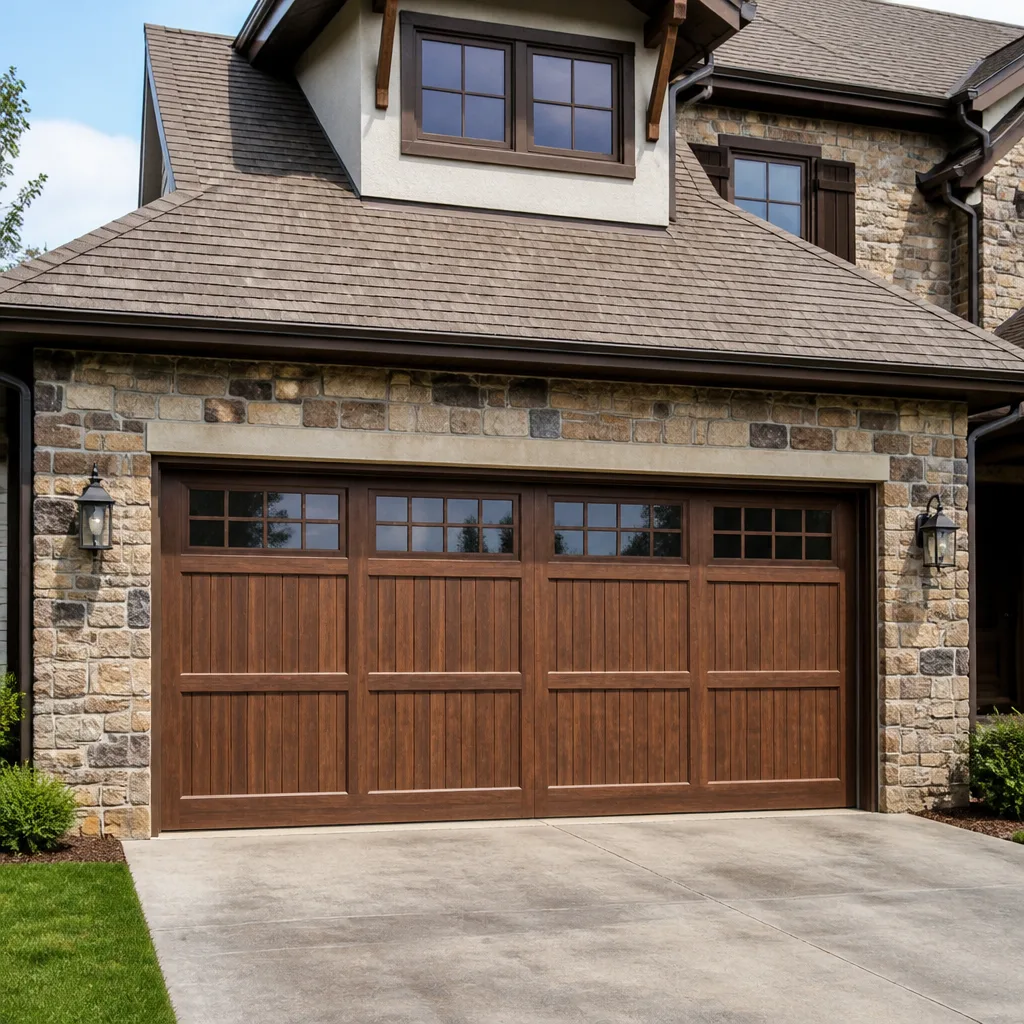 Carriage house
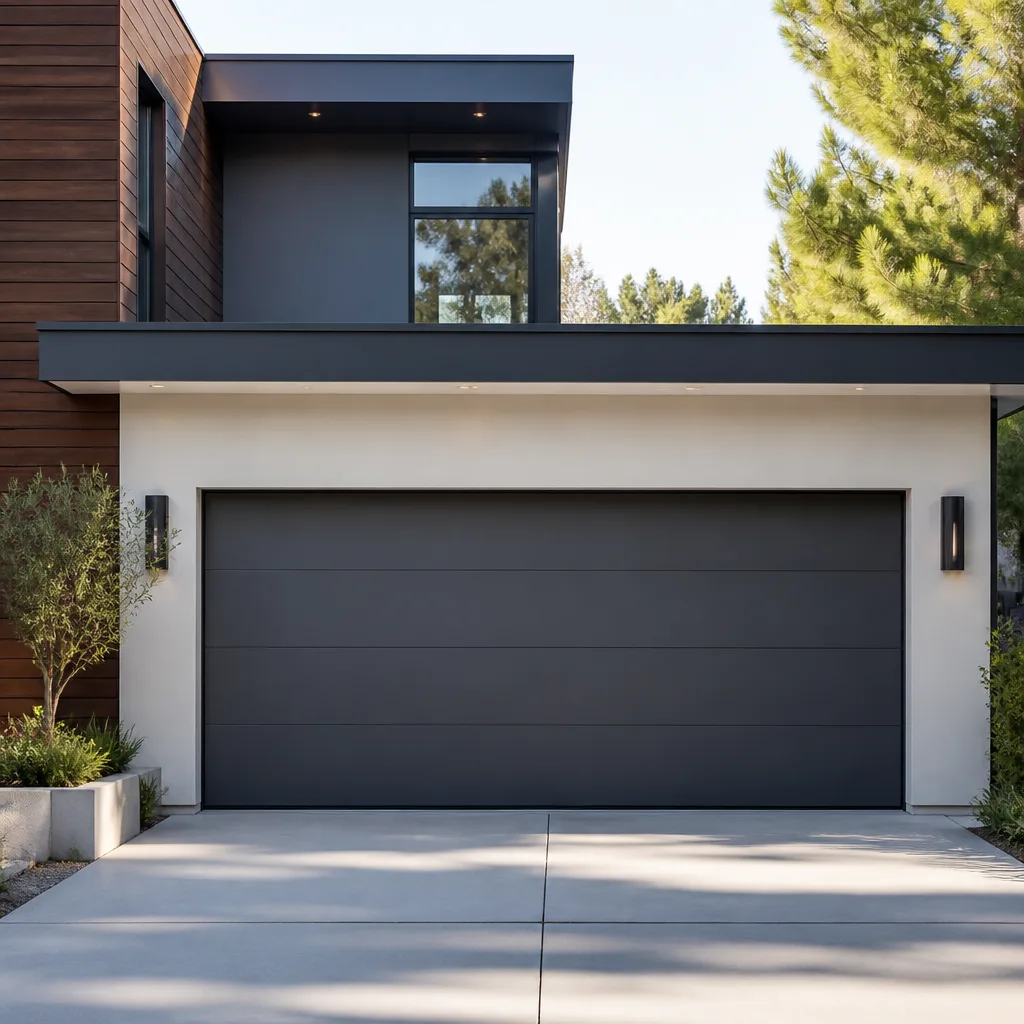 Modern flush
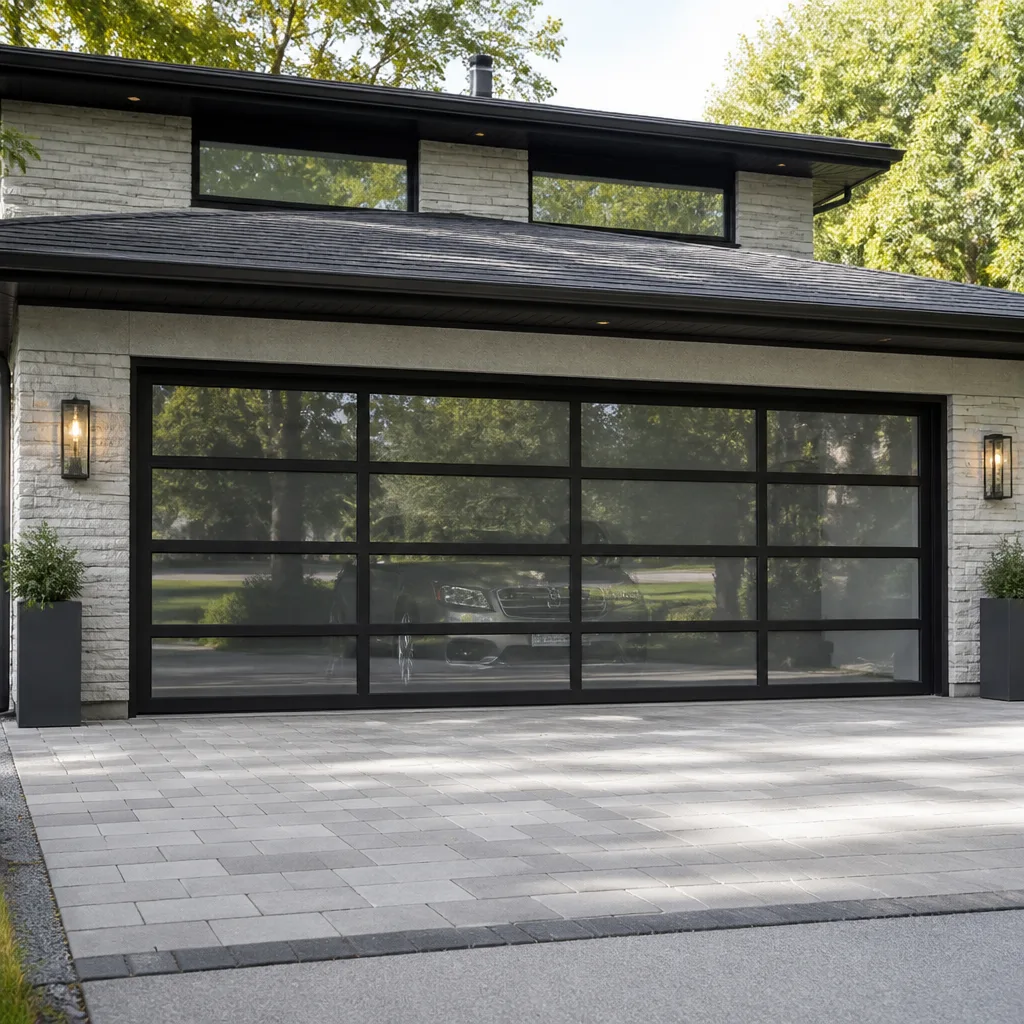 Full-view glass
 LiftMaster openers
 Chamberlain openers
Full 25-point door and opener safety check with every visit - springs, cables, rollers, tracks, and your LiftMaster or Chamberlain opener included
You get a price before we start. It does not change when the truck arrives.
Get your free estimateGarage Door Repair Troubleshooting: Common Problems and How to Fix Them
Most garage door problems aren’t actually garage door problems. They’re sensor problems, track problems, or button problems that masquerade as major mechanical failures. The door that reverses before touching the ground? That’s a safety feature doing its job. The opener that won’t respond to the remote? Nine times out of ten, it’s a $3 battery or a tripped outlet, not a dead motor. This guide teaches you how to tell the difference before you spend money you don’t need to spend. We’ve been fixing doors in Gilroy long enough to know that a little diagnostic knowledge on your end makes every repair faster, cheaper, and more honest.
Quick Answer
The most common garage door problems fall into five categories: misaligned safety sensors (door reverses or won’t close), broken torsion springs (door won’t lift or crashes down), dead remote/wall button batteries (no response from opener), bent or obstructed tracks (jerky movement, squealing), and stripped opener gears (motor runs but door doesn’t move). Most can be diagnosed in under ten minutes with nothing more than a visual inspection and a few simple tests we outline below.
Styles & brands we work with
- Raised-panel steel
- Carriage house
- Modern flush
- Full-view glass
- LiftMaster openers
- Chamberlain openers
Table of Contents
- The Symptom-to-Component Map Every Homeowner Should Have
- Safety Sensor Problems: The Most Common (and Most Misdiagnosed) Issue
- Broken Springs: How to Identify What You’re Dealing With
- Opener Problems: When It’s the Motor, When It’s the Button
- Track and Roller Issues: What That Grinding Noise Really Means
- Reading Opener Error Codes Across Major Brands Without the Manual
- What to Have Ready When You Call a Technician
- Common Mistakes to Avoid
- When to Call a Professional
- Frequently Asked Questions
The Symptom-to-Component Map Every Homeowner Should Have
Every garage door noise, movement failure, and error code points toward a specific component. Here’s the diagnostic framework we use on every service call, whether we’re working on a Clopay door in a Gilroy subdivision or a Wayne Dalton setup in a rural property off Monterey Road. Match your symptom to the likely cause before you touch anything.
Door won’t open at all, no sound
- Most likely: No power to the opener, dead battery in remote, or disconnected emergency release rope. Check the outlet first. It takes ten seconds and costs nothing.
- Second possibility: Broken torsion spring. If the door won’t lift manually even with the opener disengaged, a spring has failed. This is the one that matters most, because a spring under tension is genuinely dangerous and needs a professional.
- In Gilroy: We see dead wall-button batteries more often in homes where the door is the primary entry point, simply because the button gets used five to eight times daily and wears out faster than homeowners expect. If your door is your front door, you’re on borrowed time after eighteen months.
Door opens but won’t close
- Most likely: Blocked or misaligned photo-eye sensors. Something bumped them: a shovel, a garbage can, a child’s bike. They only need to be knocked two degrees off center to kill the circuit.
- Second possibility: Up-limit switch set too high. The opener thinks the door is already open and won’t engage the close cycle.
- Seasonal note for Gilroy: Winter brings leaves and debris into the garage threshold, and spring brings spiders. Both love to sit directly in front of the sensor lens. Wipe the lens with a dry cloth before assuming anything worse.
Door opens a few inches, then reverses
- Most likely: Something is blocking the safety sensor beam a few inches off the ground. It’s exactly the height of a coiled extension cord, a mop handle leaning against the wall, or a snow shovel. Look down.
- Second possibility: Spring tension has shifted. If the door feels dramatically heavier than it did last month, one of the two springs may have broken, even if you can’t see the break.
Door makes a grinding, squealing, or popping noise
- Grinding: Metal-on-metal contact. Usually the rollers grinding against the tracks, or the opener’s drive gear stripped after years of use on a heavy door.
- Squealing: Dry rollers or hinges. A silicone-based lubricant applied to the rollers, hinges, and the opener rail resolves most cases. Do not use WD-40: it’s a water displacer, not a lubricant, and it’ll wash out what little grease remains.
- Popping: The torsion spring adjusting or the door sections flexing. A single pop at regular intervals, often when the door is mid-cycle, almost always points to the spring. Don’t ignore it: a spring that’s worn but not yet broken will break, and it will break when the door is mid-travel, which is the worst time.
What you’ve saved by running this map first is real: a service call that starts with “the door just grinds when it moves” lands a technician on your doorstep in thirty minutes. A service call that starts with “I checked the outlet, the sensors are aligned, and the emergency release is engaged” gets you a diagnosis over the phone, often without a trip fee in Gilroy. The more specific your report, the less time we spend opening panels and climbing ladders.
Safety Sensor Problems: The Most Common (and Most Misdiagnosed) Issue
If your door reverses before reaching the ground, your safety sensors are doing exactly what federal law requires since 1993. The invisible infrared beam that spans the bottom of your door opening detects any obstruction and tells the opener to stop and reverse. When that beam gets interrupted by something as small as a leaf or as subtle as a misaligned sensor housing, the door behaves as if something is in the way, even when nothing is. It’s not broken. It’s working perfectly.
Here’s the troubleshooting sequence we walk Gilroy homeowners through, in order:
- Look at the ground between the sensors. A cardboard box, a coiled hose, a stray dog toy – anything at sensor height will trip the beam. Move it. Test the door.
- Look at the sensor housings themselves. Each sensor has a small LED light. One glows steady green, the other steady amber or red. If either light is blinking, the sensors are misaligned or blocked. Gently nudge the housing until the lights go steady.
- Wipe the lenses. Dust, cobwebs, and pollen accumulate on the lenses and diffuse the beam. A dry microfiber cloth does the job. Avoid glass cleaner, which leaves residue that attracts more dust.
- Check the wires. The low-voltage wires running from each sensor to the opener head can get chewed by rodents or knocked loose by anything stored against the wall. If the light on one sensor won’t illuminate at all, trace the wire.
What we’ve seen in Gilroy specifically: the sensor problem that isn’t actually a sensor problem. Homeowners will swear the sensors are fine because both lights are glowing, but the door still reverses. In those cases, the culprit is almost always the sensor’s line of sight being blocked by something hanging from the garage ceiling: a bicycle suspended from a hook, a rolled-up tarp, even a shelf that shifted. The beam runs perfectly straight, and anything crossing that line anywhere along its length will trip it. Check above eye level, not just at floor height.
If you’ve run all four steps and the door still refuses to close, the issue has moved beyond the sensors into the opener’s logic board or wiring harness. That’s the point where a professional diagnosis beats a homeowner’s guess. Our Garage Door Opener Repair in Freedom team handles this exact scenario regularly: sensors check out, but the opener won’t close. It’s rarely the motor. It’s usually a $40 limit switch or a loose connection.
Broken Springs: How to Identify What You’re Dealing With
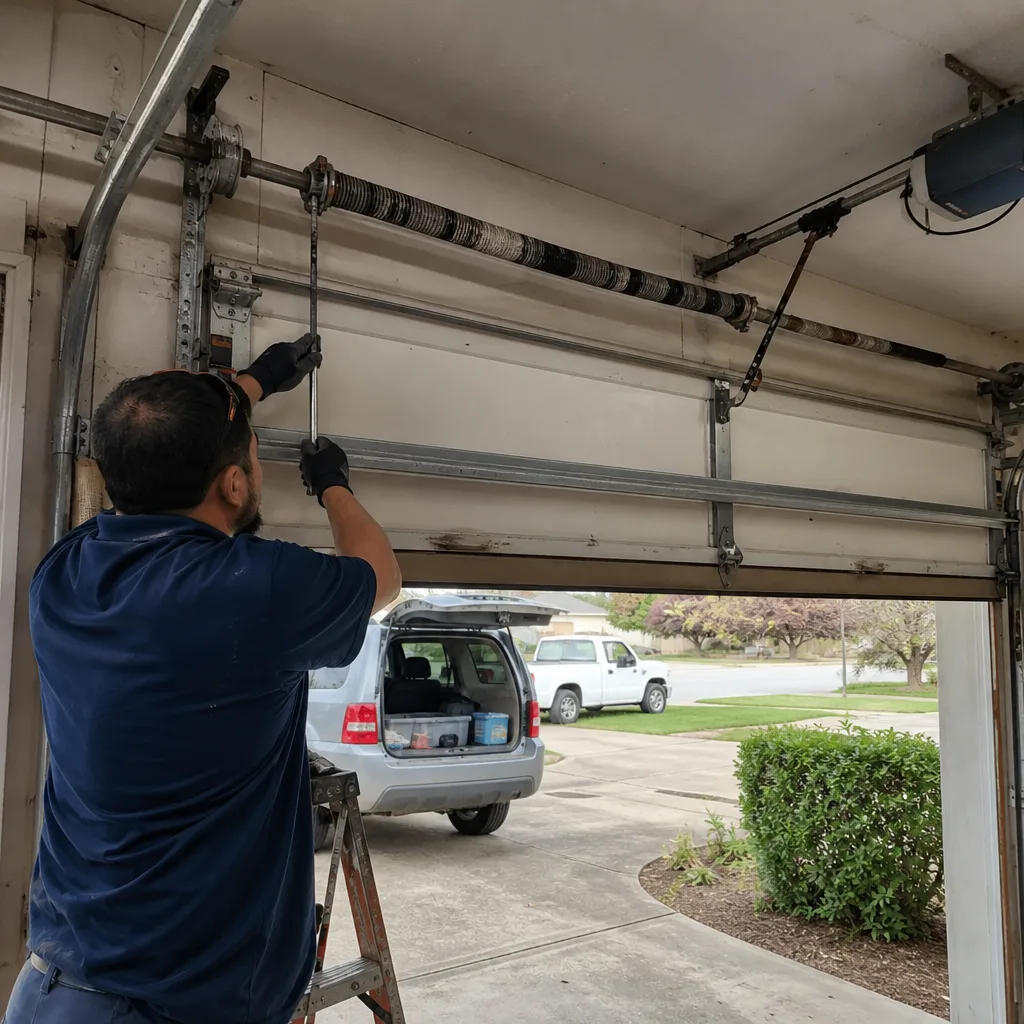
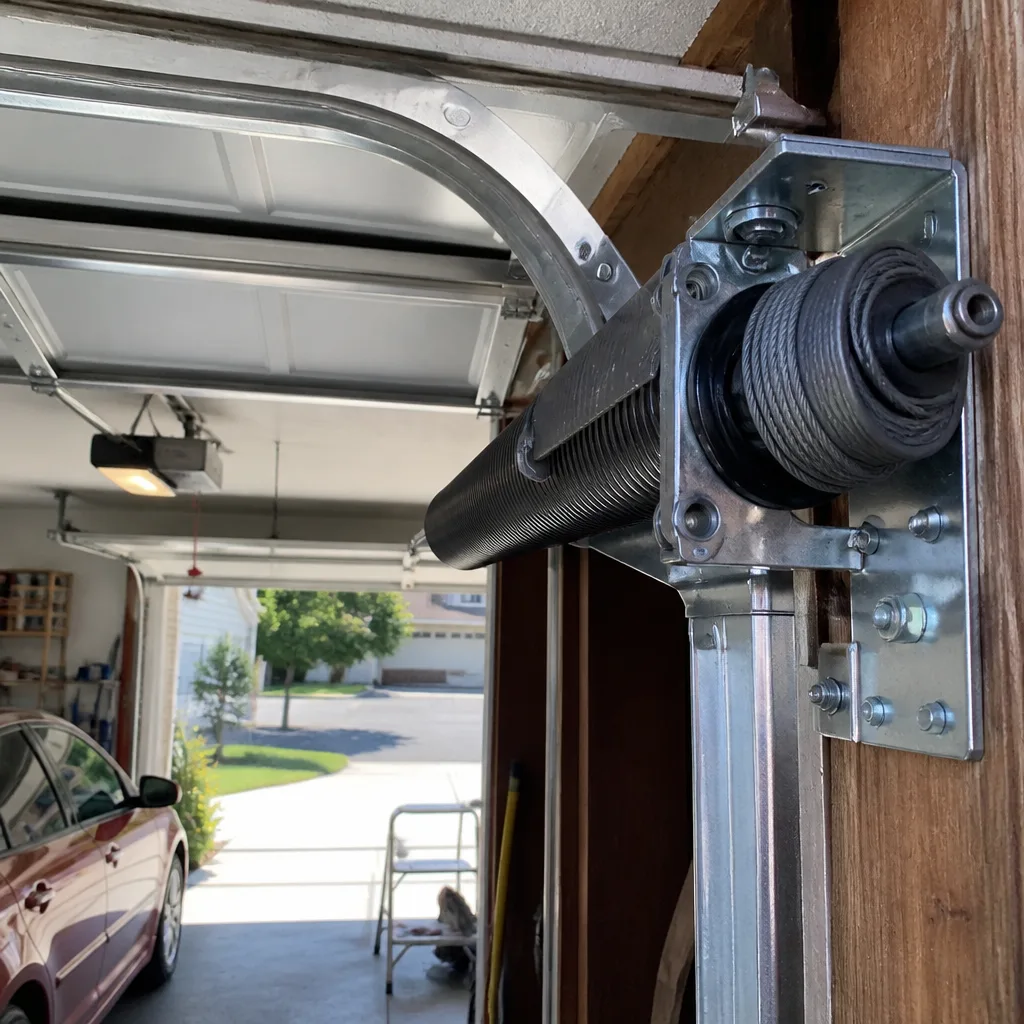
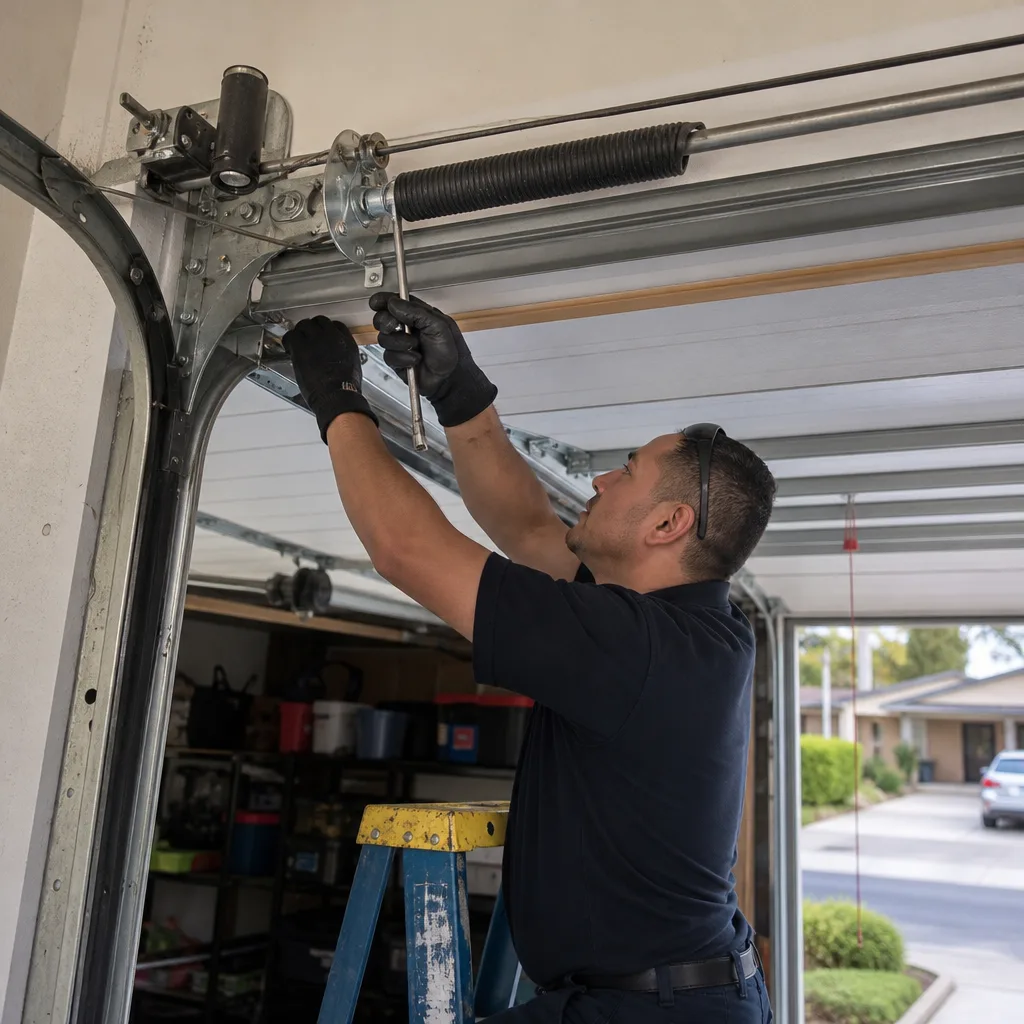
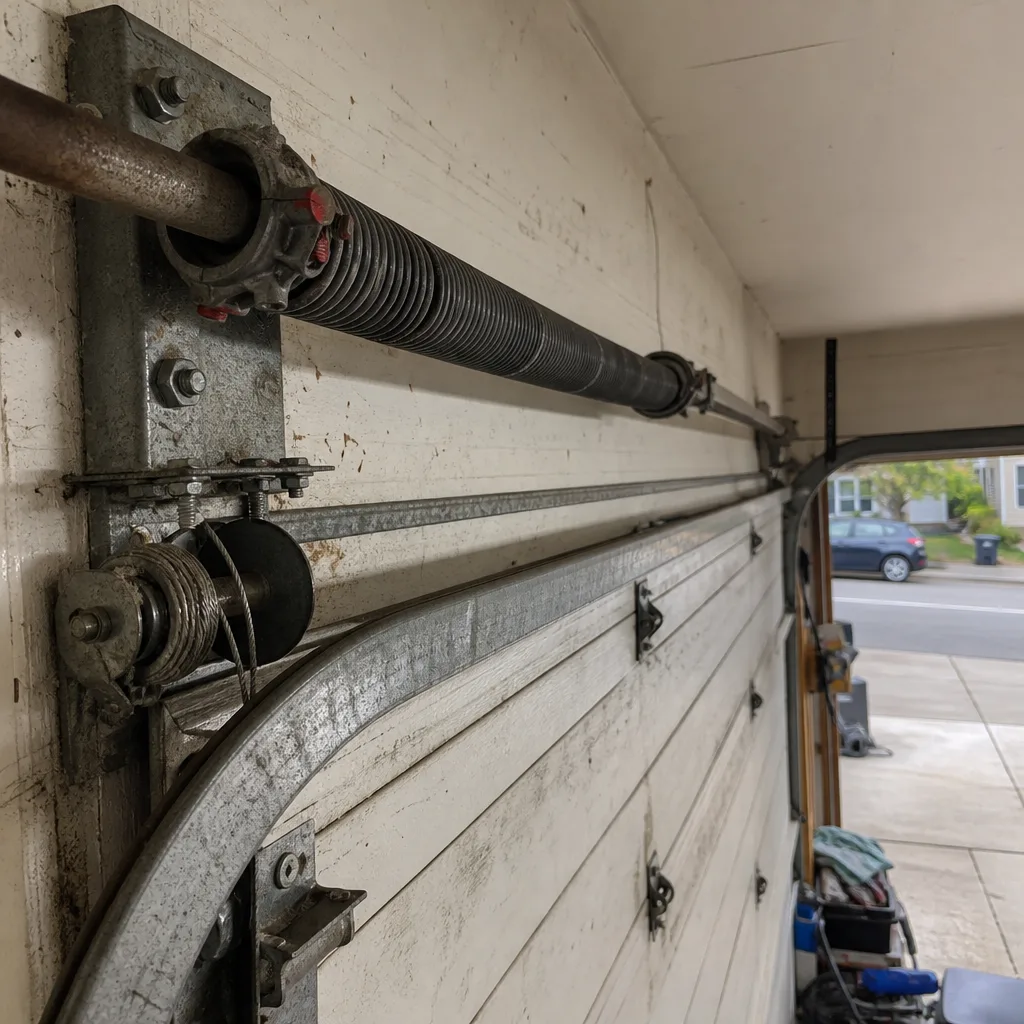
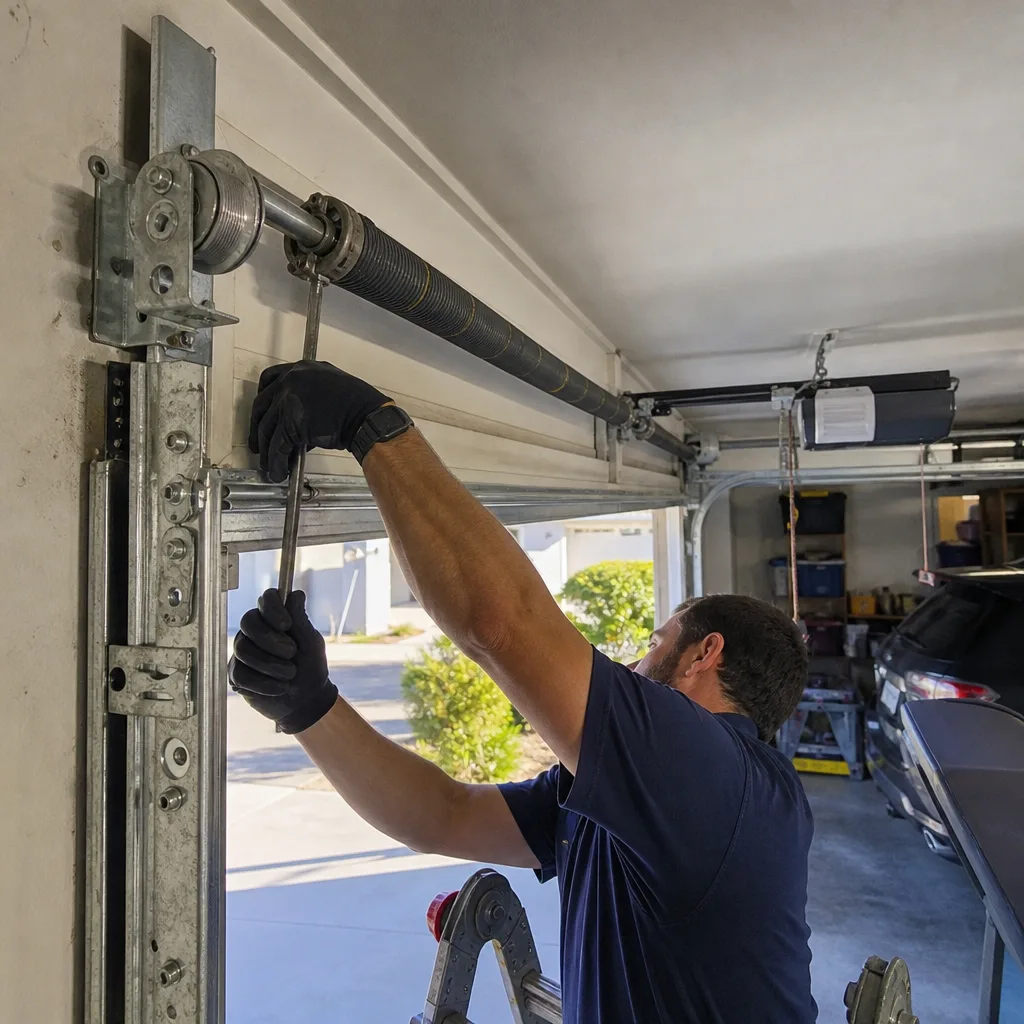
A torsion spring looks like a tightly wound coil mounted on a metal shaft directly above the closed door. A broken torsion spring is unmistakable: you’ll see a visible gap in the coil, usually about two inches wide, right in the middle of the spring. The door will not lift, or it will lift a few inches and stop, because the spring that counterbalances the door’s weight is no longer doing its job. The opener motor is not strong enough to lift a 150-pound door without spring assistance – and it shouldn’t try, because forcing it will strip the opener’s gear in under a minute.
Here’s what matters for your wallet: a broken spring is a repair, not a replacement of the whole door. We replace springs on every brand we service, including Raynor and Craftsman doors, and the process takes about an hour. The spring itself is replaced, not patched, and a new spring is rated for roughly 10,000 cycles. On a door that opens three times a day, that’s about nine years. On a door that opens eight times daily, that’s closer to three and a half years. Gilroy residents who use their garage as the front door wear out springs faster than anyone expects.
Safety note, and we’ll be blunt about it: torsion springs are under massive tension. The spring alone holds enough stored kinetic energy to break a wrist or worse if it releases suddenly. We’ve seen homeowners attempt to replace springs with pry tools and online tutorials, and we’ve seen the injuries that follow. This is the one repair on this list that we tell every homeowner to leave alone. The tools are specialized, the torque is deadly, and the winding process has zero margin for error. Call someone who does this every day. Our Garage Door Repair in Freedom page covers spring replacement specifically, but the short version is this: same-day spring replacement is standard for us, and we do it safely.
Opener Problems: When It’s the Motor, When It’s the Button
The five most misdiagnosed garage door problems in our experience, ranked by frequency, all involve the opener. Here’s the list of what people think is wrong versus what’s actually wrong:
- “The opener is dead.” What’s actually wrong: the wall button needs a new battery or the outlet has tripped. We’ve diagnosed “completely dead” openers over the phone that turned out to be a GFCI outlet that tripped after rain.
- “The remote stopped working.” The remote died because the battery corroded, not because the opener failed. Remove the battery, look for blue-green crust on the terminals, and clean it off with a cotton swab and vinegar if present.
- “The motor is making noise but the door won’t move.” That grinding noise is the opener’s drive gear stripped from lifting a door that a broken spring made too heavy. The motor runs, but the white nylon gear inside the opener head is shredded. This is an opener repair, not a door repair.
- “The keypad by the garage door types in the code but nothing happens.” The keypad is a separate battery-operated device from the wall button and the remote. If all three fail, the problem is the opener’s receiver. If only the keypad fails, the keypad needs a new battery or reprogramming.
- “The door opens by remote but not by wall button.” That’s a dead wall-button battery, a broken wire behind the button, or a locked opener. Yes, openers have a “lock” mode, usually triggered by holding the wall button for three seconds, that disables remote operation. People activate this accidentally and report a “broken” opener.
We work on openers from every brand on the market, but the bulk of what we see in Gilroy garages are LiftMaster and Chamberlain units, which share the same parent company and the same internal electronics. Genie and Craftsman openers are common too. The diagnostic approach is the same regardless of brand: check the power source, check the button, check the remote, and only then suspect the motor. In our Garage Door Opener Repair in Freedom service, we see more smart-connected opener issues than anything else, because myQ and Chamberlain’s app introduce a layer of software that older openers simply didn’t have. The hardware can be perfect and the app can be the problem.
Track and Roller Issues: What That Grinding Noise Really Means
Metal tracks run vertically on both sides of your door and curve horizontally along the garage ceiling. Rollers attached to the door slide inside those tracks on every cycle. When something is wrong with a track or roller, you’ll hear it: grinding, shrieking, or a rhythmic thumping as the door moves.
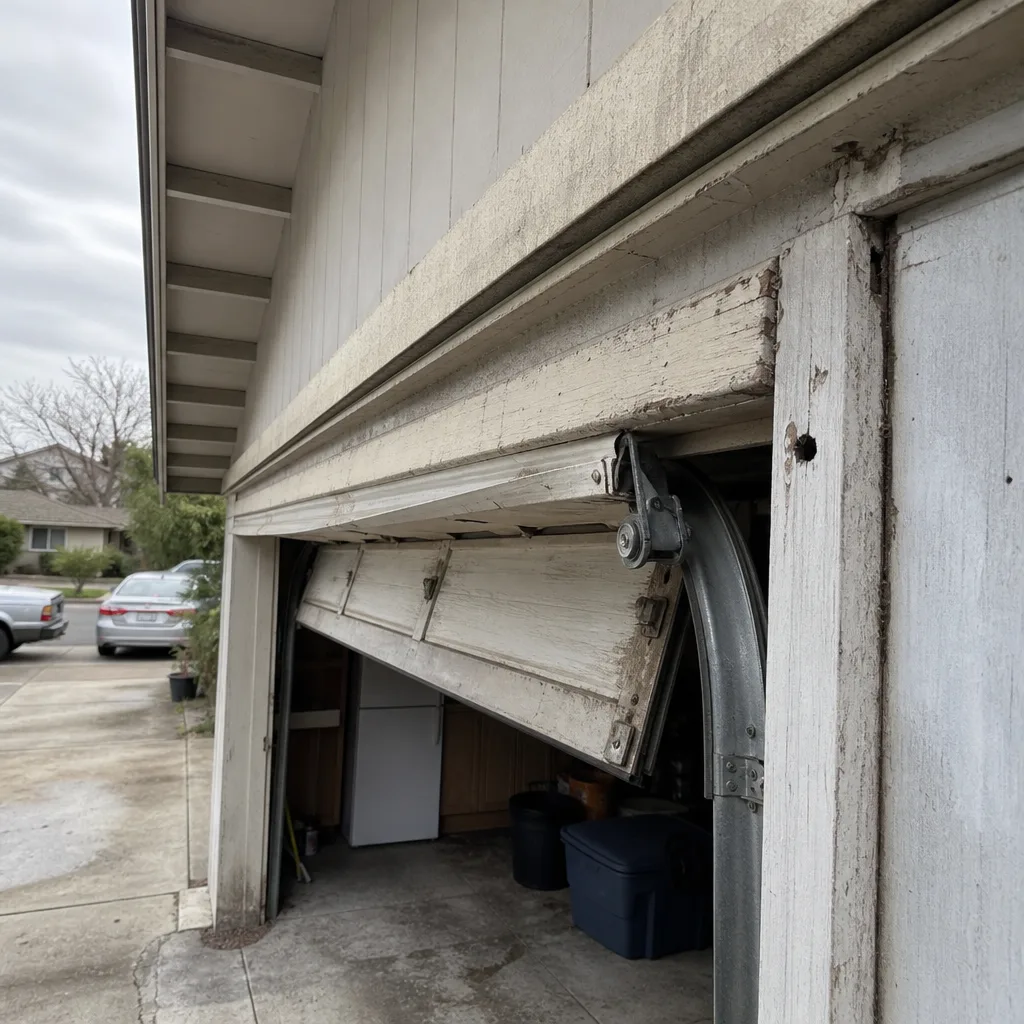
The most common track problem we find in Gilroy garages is a track that’s been knocked out of alignment by a car. The bumper of a pickup truck or the side mirror of an SUV connects with the vertical track, shoving it inward or twisting it. The door then binds against the track wall, making a grinding noise and sometimes refusing to move past a certain point. The fix is usually simple: loosen the track’s mounting brackets, realign the track so it’s perfectly plumb, and retighten. The problem is that homeowners see the track move and assume the whole door needs replacing. It doesn’t. The track is a replaceable part, and often it doesn’t even need replacing; it just needs realigning.
Roller problems tell a different story. Nylon rollers with sealed bearings – what most modern doors use – wear out around seven to ten years. The bearing inside fails, the roller stops spinning, and the wheel drags flat-sided against the track. That’s the shrieking sound. Worn rollers should be replaced, and while you’re at it, all ten or twelve should go: replacing one roller while leaving the rest worn just moves the noise around. In terms of garage door troubleshooting, this is the most straightforward diagnosis on the list. If it’s quiet when the door is stationary and loud only when moving, it’s the rollers or the tracks. If it’s loud when stationary, you’ve got a different problem.
Lubrication helps, but it’s a stopgap, not a fix. A silicone spray on the rollers and hinges every six months keeps a healthy door healthy. It will not resurrect a roller with a dead bearing. For homes in Gilroy’s dustier months, particularly August through October, wince twice as often: dust accelerates bearing wear on every moving part.
Reading Opener Error Codes Across Major Brands Without the Manual
Modern openers speak to you through blinking lights and error codes. Here’s how to interpret them for the brands we service most often in Gilroy, without digging through the manual you threw away in 2015.
LiftMaster and Chamberlain (same codes)
- One blink, pause, repeat: Safety sensor wire obstruction or misaligned sensors. Check the wiring and sensor alignment.
- Two blinks: Safety sensor wire shorted or reversed polarity. This usually follows recent work near the sensor wiring.
- Four blinks: Door obstruction detected or door is not moving as expected. Check for an obstruction, then check spring condition.
- Five blinks: Motor overheated. Let it cool for fifteen minutes and try again. Repeated five-blink errors point to excessive door weight, which usually means springs are wearing out.
Genie
- Red light on, one blink per second: Door obstruction or excessive force detected. Check the door’s balance by disconnecting the opener and lifting manually.
- Red light on, two blinks per second: Travel limits not set or lost. This matters after a power outage, which Gilroy gets during storm season.
- Green light blinking: Opener is in programming mode or has exited programming mode without completing setup.
Craftsman (varies by year, but common)
- One blink: Sensor obstruction or misalignment, same as LiftMaster.
- Seven flashes: Door lock mode engaged. Hold the lock button on the wall console for three seconds to clear it.
- Rapid flashing after pressing remote: Remote not programmed to opener. Reprogram the remote by pressing and holding the learn button on the opener head until the light blinks, then press the remote button.
If your opener’s lights are flashing in a pattern we didn’t list above, the opener’s logic board is communicating a specific fault that’s worth a call before you start replacing parts. We’ve seen homeowners replace sensors, remotes, and even the opener itself when a five-minute interpretation of a blinking light would have fixed the problem for free. That’s the kind of situation we especially like in our Garage Door Opener Repair in Freedom work: a customer calls expecting a $250 motor replacement, and we diagnose a $15 sensor alignment. We’re not in the business of selling you something you don’t need.
What to Have Ready When You Call a Technician
A diagnostic-ready phone call saves time and money. Here’s what we ask for on every call, and what you should have in front of you when you call any garage door company in Gilroy:
- The door brand if you know it. Look at the hinge plate on the inside of the door. Manufacturers stamp their name there: Clopay, Amarr, Wayne Dalton, Raynor. If you can’t find it, describe the door’s exterior style; that narrows it down.
- The opener brand and approximate age. LiftMaster and Chamberlain put the model number on a sticker on the opener head. If the opener is visible from a step stool, read it off. This tells us which parts we’ll likely need before we even leave the shop.
- The exact symptom in one sentence. “Won’t open,” “reverses mid-close,” “grinding when moving,” “no response to wall button.” The more specific, the better. What you’ve already tried matters too: it tells us what’s confirmed working and what’s still suspect.
- When it last worked normally. If the door failed during the last power outage or the last heat wave, that’s useful. If it’s been getting progressively weaker over months, that’s a spring issue, not an electrical one.
- A photo, if possible. A photo of the opener head and a photo of the door from inside the garage answers questions like “which side is the sensor on” and “what drive type does the opener use” before we even get there.
This is also the point where our Garage Door Service Gilroy home page has a service area map if you’re checking whether we cover your part of the county. We do, but it’s faster to call and ask than to check a map.
Common Mistakes to Avoid
- Calling a general handyman instead of a garage door specialist. We’re a garage door-only company. A handyman who “knows doors” doesn’t know LiftMaster error codes or torsion spring winding the way someone who does this every day does. The hourly rate difference disappears when the specialist diagnoses in one visit what the generalist takes three visits to find.
- Forcing the door open when the spring is broken. Every inch of manual lifting on a broken spring transfers the door’s full weight onto your body. That’s how backs get thrown out and fingers get crushed.
- Lubricating a broken part and calling it fixed. Spraying a grinding roller doesn’t replace the bearing inside it. Spraying a broken spring doesn’t restore tension. You’ve just made the failed part quieter, not repaired.
- Replacing the opener when the problem is the spring. The opener has one job: moving the door. If the spring fails, the opener strains harder, wears faster, and eventually strips its own gear. Replacing the opener without addressing the spring means you’ll replace it again.
- Ignoring a door that’s slightly louder than usual. In our experience in Gilroy, the doors that need the most expensive repairs are the ones that have been “making that noise for a year.” Small problems become big problems when they’re ignored through an entire rainy season.
- Attempting spring or cable repair without the right tools. We said it above and we’ll say it again: torsion springs kill. The winding bars are two feet long, the spring has thousands of pounds of stored force, and there’s no amateur version of this job that’s safe.
When to Call a Professional
Most of the troubleshooting steps in this guide are safe for any homeowner to attempt. But when the issue is a broken torsion spring, a snapped cable, a door that’s come off its tracks entirely, or an opener that sparks or smokes, stop what you’re doing and call. These are genuinely dangerous failures where continued DIY attempts make the situation worse, not better. Also call when you’ve run through the basic checklist – power, sensors, remote, wall button – and the problem persists. At that point, you’re not paying for guesswork; you’re paying for the diagnostic equipment and the experience to pinpoint the fault in minutes instead of hours. Garage Door Service Gilroy offers free estimates in Gilroy. Call (833) 593-6706 and describe what you’re seeing. We’ll tell you over the phone whether it’s something you can handle or something we should come look at.
Frequently Asked Questions
Your safety sensors have detected an obstruction, either a physical object in the beam’s path or a sensor that’s been knocked out of alignment. Check the area between the sensors first, then check the sensor lights: steady green and steady red means aligned, blinking means the beam is interrupted. If both lights are solid and the door still reverses, look for something hanging into the beam’s path higher up, like a bike or a storage hook in Gilroy garages.
In the Gilroy market, torsion spring replacement typically falls between $180 and $340 depending on the door’s size and the spring’s cycle rating. We quote the exact price before any work begins, and that price doesn’t change once we’re on site. Call (833) 593-6706 for a free estimate – we’ll ask about the door brand and the number of springs, which lets us price it accurately over the phone.
No. This is the one repair we tell every homeowner to leave to a professional, every time. Torsion springs are under thousands of pounds of stored tension, and the specialized winding bars, the precise winding procedure, and the zero-room-for-error torque adjustments are not something an online tutorial can safely teach. In Gilroy, a spring replacement from a trained technician takes about an hour and costs less than the emergency room visit that an amateur repair often ends with.
The most common cause is the opener’s drive gear, a nylon gear inside the opener head that strips after years of use. When a broken spring forces the opener to work harder than designed, the gear is usually the first part to fail. The motor runs fine, but the stripped gear can’t engage the drive chain or belt. This is an opener repair, not a door repair, and it’s usually a same-day job.
If the door itself is structurally sound – panels intact, tracks aligned, no major rust – repair almost always makes more sense than replacement on a cost basis. If you’re looking at a broken spring, worn rollers, or a failed opener, those are all repairable for a fraction of a new door’s cost. But if multiple panels are dented, the bottom panel is rotted from Gilroy’s wet winter months, or you’re ready for an insulation upgrade, a Garage Door Installation in Freedom quote will show you the comparison. We’ll give you honest numbers for both paths and let you decide.
No. We quote a firm price before any repair work begins, and we stand by that number. If we find something unexpected during the diagnosis, we’ll show you what we found and give you a revised quote before touching anything. You’ll never get a surprise invoice from us.
The Bottom Line
Your garage door is not a mystery. The sounds it makes, the way it moves (or doesn’t), and the lights on its opener all tell a story that points directly to one component. Learn to read the story, and you’ll save money on unnecessary service calls, catch $20 problems before they become $300 ones, and know exactly what to say when you do call a technician. Most troubleshooting takes less than ten minutes, costs nothing, and requires no special tools. For everything beyond that – springs, cables, cable drums, stripped gears, and any repair you’re not 100% comfortable doing – call a specialist. We’re at (833) 593-6706, we work on the brand you already have, and we’ll tell you straight whether it’s a repair or a replacement, every time.
Written by the team at Garage Door Service Gilroy, serving Gilroy since 2018.
See the difference
 Before
 After
 Before
 After
 Before
 After